Showing posts with label Recipe Cards: Main Dishes. Show all posts

Tuesday, August 10, 2021

The Anatomy of a Quiche ~ Free Printable Recipe Kit


In the summer (especially with all the zucchini) we make a lot of quiches! I will even venture to say that they pop up often in the autumn/winter to be used with spinach, kale or any other leftover produce. To make meal time easier for the homemaker, I have put together a little printable quiche recipe kit


“With enough butter, anything is good.”
~ Julia Child


There are many quiche recipes out there, but my go-to is comprised of:

-- 6 tbsp. butter (or oil)

-- 8 c. thinly sliced produce (summer squashes, kale, spinach, chard, etc.)

-- 1 large onion, thinly sliced

-- 5 large eggs

-- dried spices (this we will make into a ready-made mix)

-- 4 c. shredded mozzarella cheese (you can mix and match your own cheeses)


NOTE: This recipe makes one 13x9-inch quiche or 2-round pie plates (reduce the recipe in half to make an 8x8-inch or one round pie plate). You can make this crustless (aka low carb or gluten-free) or you can prepare a pie crust (this is an easy pie crust recipe) and pour contents inside. 


“It is hard to imagine a civilization without onions.”
~ Julia Child


By preparing one of the components ahead of time (the spice mix), it makes for an easy meal. 

Simple sauté 8 cups of thinly sliced produce (my favorite is zucchini) ** with one large onion (also thinly sliced).

** If using greens in this recipe, I will sauté the onion until tender and then add in the kale, spinach or chard until just wilted together. If using broccoli (or a vegetable just as "hard"), I would steam it until tender and then add into the sautéed onion.

In a separate bowl, whisk the eggs and 3 scant tablespoons of the quiche seasoning mix (recipe to follow). Add the slightly cooled sautéed vegetables with the cheese and egg mixture. Pour into a 13x9 inch casserole dish and bake for 400 degrees (Fahrenheit) for 30-40 minutes (or until golden brown and set on top). Or, prepare a pie crust and pour contents inside and bake as normal. 


The key to making this easier is the make-ahead seasoning mix and a basic recipe (which I taped to the inside of my cupboard for convenience).

For the seasoning mix, stir together and place in a (wide-mouth) pint jar the following:
  • 13 tbsp. dried parsley
  • 3 tbsp. salt (I use the pink mineral salt)
  • 3 tbsp. garlic powder
  • 3 tbsp. dried basil
  • 3 tbsp. dried oregano
  • 1 1/2 tbsp. ground pepper


Now, you simply print out the RECIPE KIT, make the seasoning mix and keep your recipe handy for all your quiche making needs. Hopefully this all makes sense?

Happy homemaking!

❤ JES


Tuesday, June 30, 2020

Easy Rustic Flavorful Summer Squash Crustless Quiche (Low Carb)


The fateful summer of '15... when a 5-gallon bucket of zucchini appeared in my kitchen each morning still haunts me. My only weapon of defense has been the power of a good recipe! Having an arsenal of ideas of how to use this prolific vegetable has been my life's mission (we all have our calling! 😉). Here is how to transform your abundance of summer squash into an easy and healthy meal (and with no weird ingredients!).


All you will need is...

6 tbsp. butter
8 c. thinly sliced summer squash (zucchini, yellow squash, etc.)
1 large onion, thinly sliced
5 large eggs
4 tsp. dried parsley
1 tsp. salt
1 tsp. garlic powder
1 tsp. dried basil
1 tsp. dried oregano
1/2 tsp. pepper
4 c. shredded mozzarella cheese

(This recipe can easily be halved for an 8 by 8 pan -- with less baking time.)


To begin, preheat your oven to 400 degrees Fahrenheit.

In a large skillet, melt the butter over medium heat. Add the sliced zucchini and onion. Cook and stir the vegetables until tender. Drain and cool slightly.


In a separate bowl, whisk together the eggs and seasonings until blended.


Lastly, mix together the cheese, zucchini mixture and eggs with the seasonings (I told you this was easy!).


Finally, pour the mixture into a greased 13 by 9-inch casserole dish. Bake on a lower oven-rack until a knife inserted near the center comes out clean (about 30-40 minutes). The quiche should be golden on top. Let set for 5 minutes before serving.

This can be served simply with a summer salad or some rice and steamed vegetables for a full meal.


For our printable recipe, visit here (I accidentally deleted the main recipe after uploading it on Google and forgot to include to grease your 13 by 9 inch pan first -- so please do so prior to baking)! For other ideas of how to use up your summer squash, visit here!

This recipe has been adapted from Taste of Home

Happy harvesting! 

P.S. I still am having trouble commenting... I am not sure what is going on but I would love for you to share your favorite zucchini recipes with us if you have a moment! I am always looking for ideas! 


Friday, May 5, 2017

Old Fashioned Pantry Pie Crust Mix (No Butter, Eggs or Milk) ~ A Patty-Pan Printable Recipe Kit


"I am baking it in a pie-dish— a pie-dish with a pink rim.
You never tasted anything so good!"


Welcome to another edition of Fun Friday with Beatrix Potter featuring The Tale of the Pie and the Patty-Pan! Today I wanted to share an old fashioned recipe from dear Ribby! It is an oil crust pastry which is made from ingredients found exclusively in the pantry. I believe she got it from her great-grandmother who used this easy, frugal recipe during the Depression Era. 


"But she thought a great deal about Ribby's pie,
and she read Ribby's letter over and over again."

Dear Ribby liked to make things convenient and places a few jars of make-ahead crust mixes in her pantry. She noticed that if half of the work was done (and it only took minutes!), it made the pie-making process so very simple and she was apt to make more of them for her loved ones! You can fill them up with so many different foods and you have an instant feast when served inside a pastry shell! For meal making inspiration, there is the classic chicken pot pies and quiches. For desserts, the sky is the limit with peaches, apples, pumpkins, you name it!
It is especially easy with Ribby's printable recipe kit which includes the directions, jar labels and instruction labels. This is such a fun way to fill your pantry shelves! She told me she enjoys preparing these little projects. What an industrious feline after my own heart!


"She peeped again into the bottom oven,
the pie had become a lovely brown,
and it was steaming hot."

To Make the Mix:

Place inside a pint-sized jar the following ingredients:
  • 1 1/2 c. all-purpose flour *
  • 1 dash of salt
  • 1 tbsp. sugar (reduce the sugar by half when serving a savory dish)

Place lid firmly back on jar and give it a good shake for a final blend. The mix is now complete. Simply label and attach the following directions to the mix. In order to be an ink saver, when the mix is used up, simply wipe out the jar with a clean towel and place it back in the pantry until ready to refill again (so as not to disturb the labels).

* We have made this with a gluten-free flour blend but the dough is harder to handle and breaks easy. I end up pressing it directly into the pie plate once it is somewhat rolled out.


"When she came back, she peeped into the bottom oven;
the pie looked very comfortable."


"Such lovely pie-crust; and I put in a little tin patty-pan to hold up the crust;
and I made a hole in the middle with a fork to let out the steam..."

To Make the Pie:

1. Place the dry ingredients (or the mix-in-a-jar) in a mixing bowl and stir (Ribby prefers using a wooden spoon).

2. Add 1/2 c. oil. Mix again with the spoon until it looks almost mixed in (like fig. 2 above).

3. Add 1/4 c. water and knead until just blended in (Ribby uses her paws hands). Shape dough into disc. 

4. Roll out your dough into a circle shape by placing the disc between two sheets of plastic wrap.

5. Remove top plastic sheet, invert the dough into the pie pan (as pictured) and fit the crust snugly inside. Remove other top piece of plastic wrap and crimp your edges. Your pie is ready to fill!


This recipe works well with "baked and filled" pies such as apple, peach and pumpkin. If making it for cream pies or fresh fruit pies, since the dough is softer, it will puff up in the bottom if baking unfilled. However, you can remedy that somewhat by poking holes in the bottom of the crust with a fork prior to baking it and also by filling the shell with pie weights during the baking process.

Final Notes:

This recipe is for one crust.

To make a double crusted pie mix -- double the ingredients and place them in a quart jar.

Depending on the sugar amount you use in the mix, you may wish to write down either "savory" or "sweet" on the lid.

You will find the Patty-Pan Printable Recipe Kit HERE.


Thank you for taking the time to visit! Other posts shared thus far in the "patty-pan" spring series include a printable coloring bookprintable gift tags, printable recipe sheets and quaint cottage homemaking musings and music. Have a lovely weekend!
All the fine print. This post may be shared with some or all of the following link-ups: The Art of Home-Making MondaysModest Mom Monday'sMonday's MusingsGood Morning Mondays,  The Scoop, Tuesdays with a TwistRaising HomemakersWise Woman Link UpHomestead Blog Hop Wow Us Wednesdays,  Coffee and ConversationHomemaking ThursdaysHome Sweet HomeOur Simple HomesteadAwesome Life Friday Link Up and Create, Bake, Grow & Gather. Thank you lovely ladies for hosting these. This post may contain affiliate links (which are merchant links that help to support this site at no additional cost to you if you purchase an item through them). 

Wednesday, October 19, 2016

How We Cook From Scratch All Week With Minimal Effort


The world of meal making is always interesting to me as the keeper of the home. It is a very important part of a homemaker's day yet it certainly is one of many responsibilities we have in the home. Moving onto a homestead, I found that the time to prepare meals was threatened by the added work load of an old-fashioned farm. In order to keep the household running smoothly, I had to adopt certain measures to make cooking from scratch less time intensive. I don't do normal menu planning for a few reasons (shared here). Since I am always curious how other women do things, I thought to share our flexible and frugal system with you.


To begin, I prepare a large batch of a "foundation" food each week. The categories are usually pinto beans, quinoa, black beans, soup or whatever is harvested that week. We eat a lot of vegetarian meals and will break them up once a week or so with a nice "meaty" meal in the middle (to be explained further down)*. This is usually done on a Wednesday. Friday night is always pizza night for some extra weekend fun. On Sunday afternoon, if there is no fellowship, we enjoy potatoes and eggs as a family. If we are hosting fellowship, I prepare a large batch of soup.

* As we eat only the meat that we raise and slaughter ourselves, we try and make it stretch and appreciate every morsel! We raise chickens, sheep, goats and beef for food.


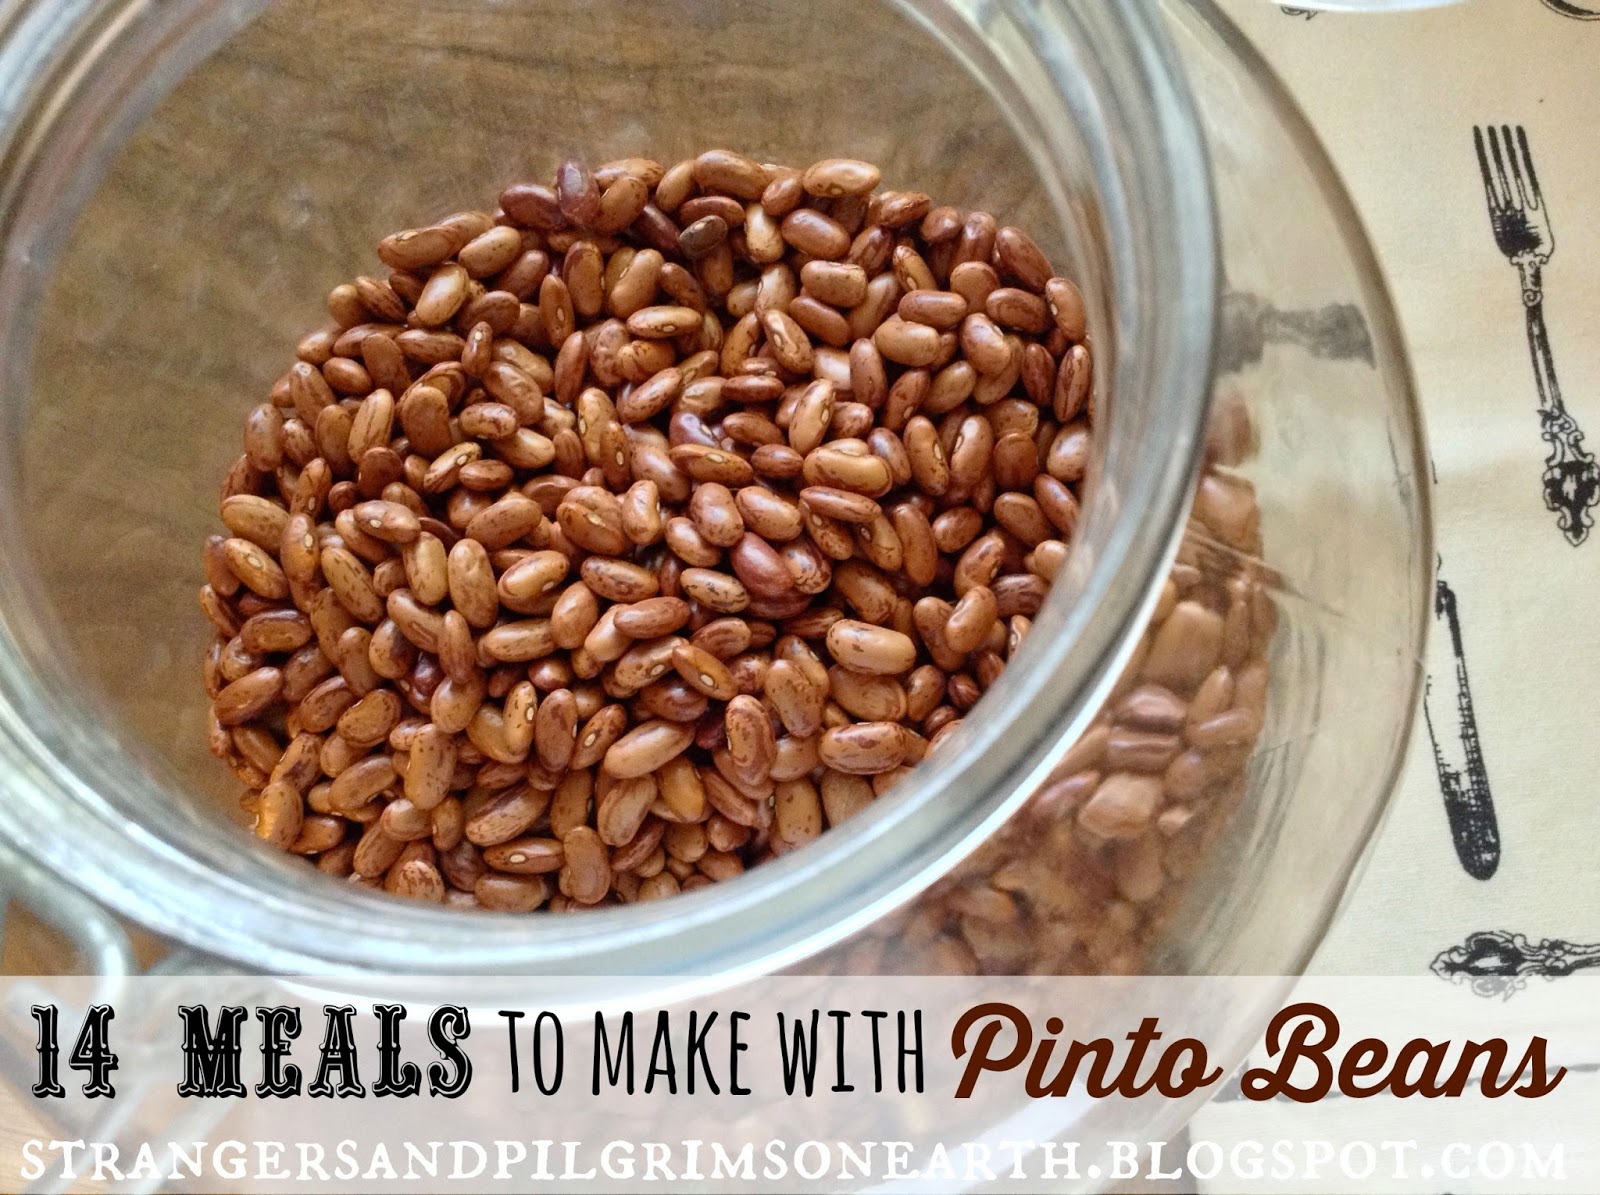
Now, back to the "foundation" food of the week. For instance, on Monday I will prepare a large batch of pinto beans. For the duration of the week, I will make meals based off of them. This would include menus like beans over rice, tostadas, chili cheese fries, eight layer bean dip, taco salad, bean burritos, etc. The "base" of the recipe is already made for me (the pinto beans) so this creates a simple system of food preparation with much flexibility during the week.

{For our pinto bean inspired menu, visit here.}


The following week, I will prepare a large batch of soup (though in the summer it would be large seasonal salads). What is wonderful about our recipe is that it works with whatever we have growing at the time. Flexibility is key when you live on a farm. To change up the daily meals with this soup, I will serve different side dishes to go with it. One day it will be hard boiled eggs and marinated vegetables, another day I will serve the soup with grilled cheese sandwiches while angeled eggs and a green salad would be another variation.

{For our "End of the Garden Soup" recipe, visit here.}


The third week rotation will bring us back to beans. But this time, I will prepare a large batch of black beans (see this post here). Some menu ideas will include black bean quesadillas, black bean salad, taco soup with cornbread, black bean burgers and taco casserole (to name a few).

{For our black bean inspired menu, visit here.}


Quinoa is rather new to our weekly rotation and I have yet to write a post on our favorite collection of recipes (but it is coming). However, for the sake of this article, I will include a few. My sister-in-law got us hooked on these quinoa patties. Served with ranch, they are out of this world and so flavorful (this is a great "get your feet wet" with quinoa recipe)! We also make a delicious quinoa casserole and a tasty cold quinoa salad. When we have had our fill of it, this decadent chocolate cake will use the excess and it is amazing (and freezes well in cupcake form)! You wouldn't know that it was a gluten-free and a quinoa-based cake! (And let me say, that says a lot around here!)


Our weekly rotation will often include the "famous" food of the week that is getting harvested like crazy in our garden. For instance, during the summer, there is zucchini season! We will make zucchini patties, quiche, stir fry, grilled zucchini, zucchini sauce for pasta, etc. You will find our zucchini meal making inspiration here. During the winter it might be using up our butternut squash surplus (some ideas are here). I think you get the idea! Whatever is growing in abundance becomes our meal focus!


Regarding the in-between "insert" meals"
  • On Wednesday nights, it is usually an old stand-by like tacos or some sort of "meat" meal featuring chicken, lamb or beef. Tacos don't require much planning (and tortilla shells freeze well) and I could usually come up with seasonal toppings depending on what is growing. For instance, it is either lettuce, spinach or cabbage that will get sprinkled on top depending on the garden. In the summer we have fresh tomatoes while in the colder months I will serve canned salsa with them. Shredded cheese is always in the freezer as we buy in bulk and bag it up in smaller amounts. Thus, tacos is an easy impromptu meal to keep the menu different.
  • When we prepare meat, we often make a large amount at once. For instance, my hubby will debone a batch of chickens, I will marinate them and he will grill them (as we sip some coffee together). Then, I bag them up in smaller amounts and freeze the excess. This way we can conveniently make chicken soft tacos, chicken sandwiches, chicken with grilled vegetables and so forth. 
  • Eggs are also an excellent standby as we always have dozens to work with. We make egg casseroles, angeled eggs, hash browns and eggs, popovers, quiches, etc. When in doubt, we usually serve eggs!
  • Friday night is always pizza night so there is not much planning to be done there. I usually make a large batch of dough, divide it and freeze the excess in bags for future Friday meals to make it easy.
  • If we are planning on having company on a weekend, my hubby will take the time to BBQ some meat (and add some seasonal veggies to the grill) and I will usually come up with some other garden goodies to go with it which makes it very easy. 

An alternative to this plan would be to create a large batch of pinto beans, black beans, quinoa and/or soup, etc., (choose one to do each week) and freeze them into smaller family-sized portions. This will give you a variety of part-made meals during the course of the month that can be prepared conveniently. Some husbands may prefer this. My husband isn't picky in this area as long as I vary the recipes. As his goal is for his garden to feed us, I find him quite flexible :)

Recap:

Monday ~ "foundation food of the week" meal (i.e., pinto beans, black beans, quinoa, soup, etc.)
Tuesday ~ "foundation food of the week" meal
Wednesday ~ "insert meat meal" such as tacos or something else with meat on the menu
Thursday ~ "foundation food of the week" meal
Friday ~ "pizza night" (we usually have prepared dough in the freezer for convenience)
Saturday ~ finish up the fridge "leftovers" or BBQ meat if having company
Sunday ~ "eggs and potatoes" if just our family, or Sabbath Soup if hosting a fellowship


This is just a basic idea of how we eat. Obviously, things change, cravings happen and so forth. This is simply a way to cook that keeps everything somewhat frugal, flexible and easy. Do you have some sort of meal making system? I would love to hear it!
All the fine print. This post may be shared with some or all of the following link-ups: The Art of Home-Making MondaysModest Mom Monday'sMonday's MusingsMake Your Home Sing MondayGood Morning Mondays,  The ScoopTitus 2 TuesdaysTuesdays with a TwistRaising HomemakersThe Homesteader HopWise Woman Link UpHomestead Blog Hop Wow Us Wednesdays,  Coffee and ConversationHomemaking ThursdaysHome Sweet HomeOur Simple HomesteadAwesome Life Friday Link UpFive Star Frou Frou Friday, and Shabbilicious Friday. Thank you lovely ladies for hosting these. This post may contain affiliate links (which are merchant links that help to support this site at no additional cost to you if you purchase an item through them).

Wednesday, October 7, 2015

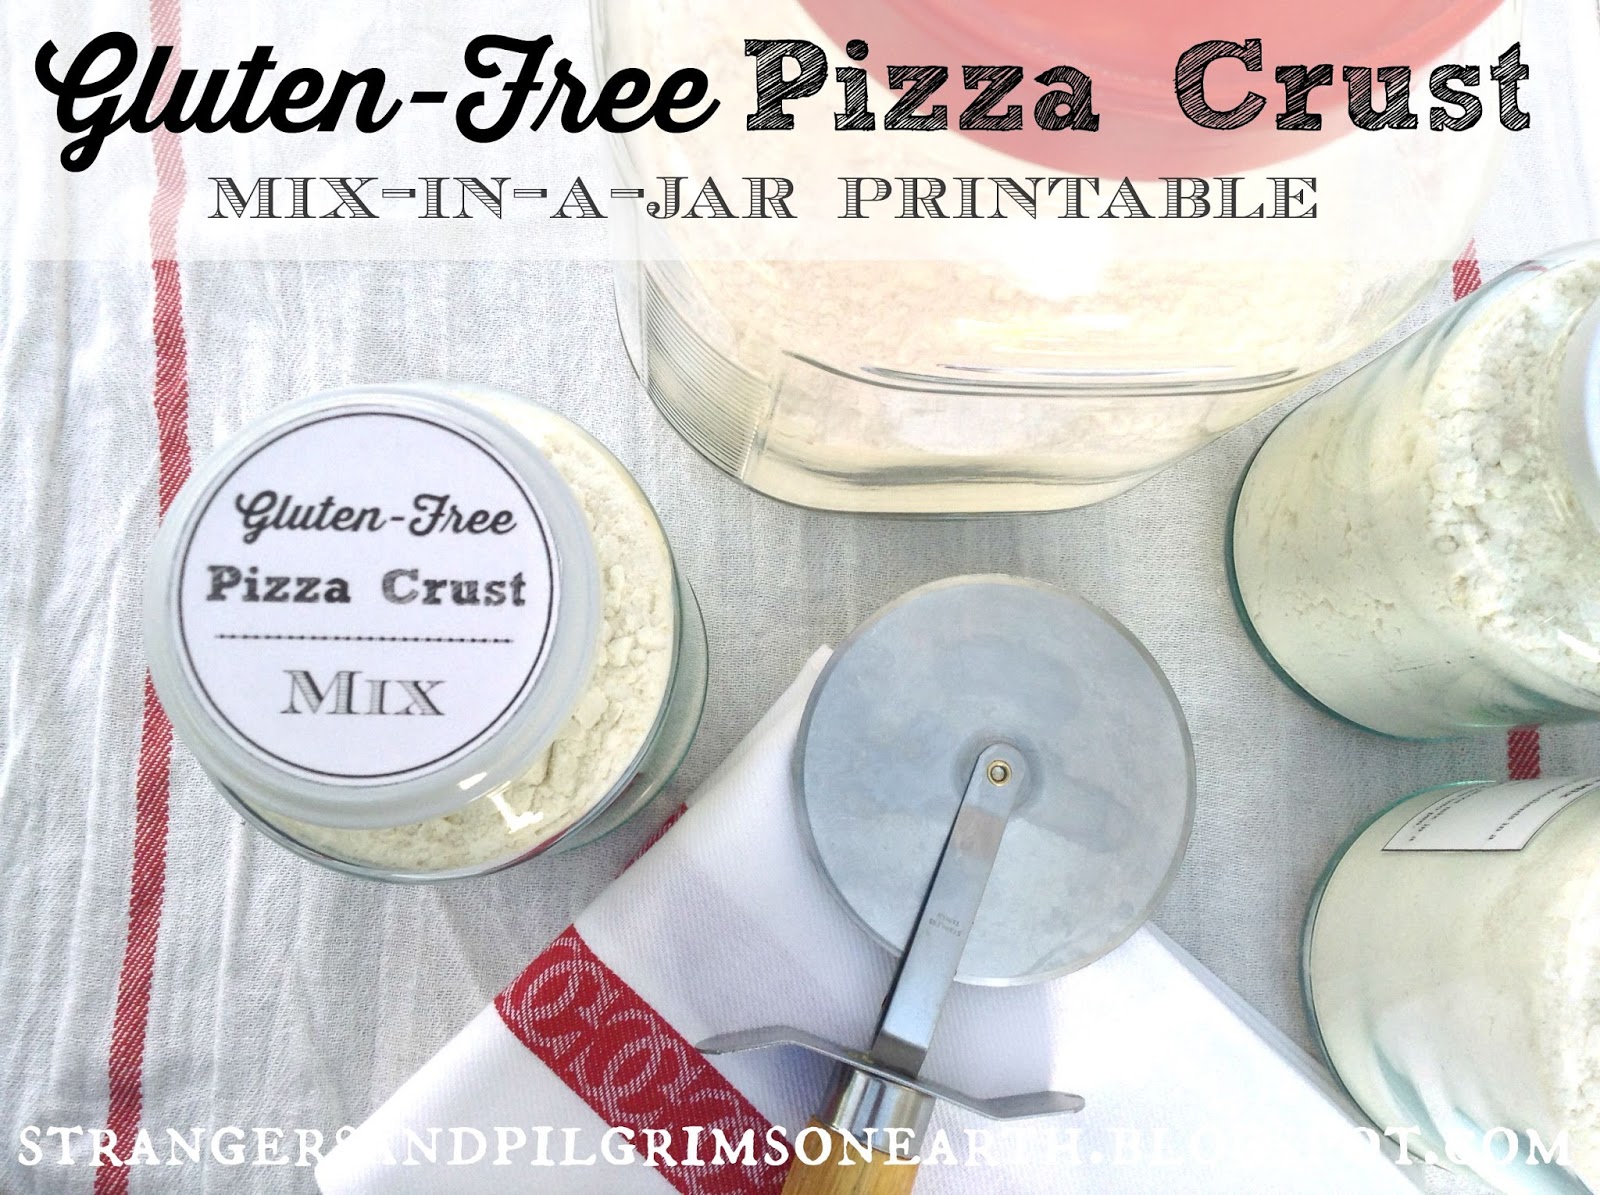
Gluten-Free Pizza Crust Mix-in-a-Jar ~ Free Printable Recipe Kit


I have been on a mix-in-a-jar mission this last year. It is so convenient to make dozens of each of your favorite recipes while you have out all the ingredients along with your measuring cups and spoons. Clean up one time instead of twelve! Place your dinner provisions in your pantry and spoil yourself to a future evening of ease in the kitchen! Today we are sharing a gluten-free pizza mix in a jar recipe:


To make the pizza crust mix in a jar ~ 

Place inside a quart-sized jar the following ingredients:
  • 3 c. gluten-free flour blend 
  • ½ tsp. xanthan gum (if your gf flour blend doesn’t include it)
  • 1 tsp. salt
  • ½ tsp. baking powder
  • 1 ½ tbsp. sugar
Stir ingredients together inside the jar. Place lid firmly back on jar and give it a good shake for a final blend. The mix is now complete. Simply label and attach the following directions to the pizza mix or use our shortcut labels (fee printable here) once you master the recipe. Store in the pantry until pizza night!


To prepare the pizza ~ 

Preheat oven to 350 degrees Fahrenheit. 

Combine the following ingredients in a glass measuring cup or small bowl:
  • 1 1/4 c. warm water (about 110 degrees, you don’t want to kill yeast so not too hot)
  • 1 tbsp.  yeast (we use Saf-instant yeast)
  • 1 ½ tbsp. sugar
  • 1 tbsp. light olive oil (or your favorite cooking oil)
Stir gently and let mixture sit for 5 minutes to allow yeast to activate.


~ Next, pour the "pizza mix" into a medium sized mixing bowl. Add the yeast mixture (once it sat for 5 minutes). Stir together until combined using a wooden spoon. 

~ Press dough onto lightly sprayed round-sized pizza pan.  Dough will be very sticky so oil your hands (splash some olive oil onto them and rub hands together) and quickly press out your pizza dough to evenly cover the pan.

~ Let dough bake for 20-25 minutes until starting to look golden on the edges (cracks may appear but that is fine). Then add your pizza sauce and toppings. Put back into oven and bake for another 10-15 minutes until cheese is hot and bubbly.

~ I let our pizza sit for a few minutes before cutting in order to let the cheese set a bit prior to serving (but that is your choice). Enjoy!


Our printable HERE shares what to put in your quart/liter jars, the directions to make the actual pizza, the round labels to fit on your jar lids and a quick version of the directions to paste onto the jar. We reuse the lids each time we refill the jars so that we don't need to continue printing up new ones. I hope you enjoy this gluten-free pizza crust recipe. It was altered slightly from this original recipe (and made into a mix by yours truly) should you like more details of the actual pizza making process.


You may also be interested in our other printable recipe kits for:
All the fine print. This post may be shared with some or all of the following link-ups: The Art of Home-Making MondaysModest Mom Monday'sMonday's MusingsMake Your Home Sing MondayGood Morning Mondays,  The Scoop, Tuesdays with a TwistRaising HomemakersWise Woman Link UpHomestead Blog Hop Wow Us Wednesdays,  Coffee and ConversationHomemaking ThursdaysHome Sweet HomeOur Simple HomesteadAwesome Life Friday Link Up and Shabbilicious Friday. Thank you lovely ladies for hosting these. This post may contain affiliate links (which are merchant links that help to support this site at no additional cost to you if you purchase an item through them).  

Friday, October 2, 2015

End of the Garden Soup {Sabbath Soup} Flexible Frugal Freezable


"The hot soup and hot tea warmed them all."
~ Laura Ingalls Wilder, The Long Winter

"End of the Harvest Soup", "Sabbath Soup" or "Grandmother's Garden Soup". Many names will work for this flexible, frugal and freezable soup! It is simply a bean-based vegetable soup. This recipe has been passed down in various forms from my great-grandmother and has been manipulated by yours truly in order to utilize all our garden glory (including the spring and fall garden harvests). It is an old fashioned type of recipe that doesn't give "exact" measurements but manages to turn out tasty every time! As it makes approximately 16 quarts, you will have plenty to freeze or serve for a large crowd.


To begin, you will need to soak 2 cups of butter beans (or your favorite white bean) in a generous amount of water the night before. The next day, drain the beans and add them to a * 16 quart stock pot (stainless steel is preferred because of the acidity in the tomatoes we will be using). Fill the pot ¾ of the way full with water, add a few generous tablespoons of salt and let them gently boil for 1-1/2 to 2 hours, until beans are completely cooked and soft. 

Since this is grandmother's recipe, a large stock pot is required (though you could always cut the recipe in half to accommodate a smaller pot).


While the bean broth is simmering, take about 6 very large or 8 regular size (peeled) potatoes and cook them separately in a pot. I usually fill up my 4 quart stock pot with potato chunks and that amount works wonderful each time. Once the potatoes are soft, turn off the stove and mash them with the water into a thick potato water (see picture to the right). When this is done, add this potato water to your large bean broth pot. Bring the large stock pot back to a boil and add the following vegetables.


Now remember, this is very flexible. What I have found that also works is to replace like-colored vegetables to accommodate what you have on hand (you can also call this the "clean out your crisper" soup):

~ 1 large cabbage, chopped, I use the food processor attachment to do this {or approx. 16 loose cups of chopped swiss chard, kale or a blend of chopped swiss chard, cabbage, kale and spinach} You could also add in a few cups of sauerkraut for a different dimension of flavor.

~ 4 large carrots, grated {approx. 4 cups and I wouldn't substitute the carrots as their sweetness plays an important role in the soup}

~ 1 very large or 2 small bell peppers, chopped {approx. 1 cup} {or a few peeled, shredded beets, or zucchini, yes anything really!}

~ 1 small bunch of broccoli, chopped fine (or 1 small bag of shredded broccoli stumps or a few cups of diced squash or 1 bunch of chopped spinach, or a few cups of diced green beans}

~ 1 bunch of green onions, chopped {or garlic chives, or a few tbsp. of dried chives}

~ 1 sweet onion, chopped

~ 3 stalks celery, chopped (or a few cups of shredded zucchini works as it seems we never have celery or a bunch of chopped spinach, or diced green beans}

~ Optional ~ 1 large rutabega, chopped

If you don't have something, just leave it out and add your abundant vegetable in its place to get the desired consistency. It comes out tasty every time as long as the bean and potato base is prepared along with the tomato sauce (which is added below). 


Once the vegetables are added to the pot, bring it all back to a boil while adding the rest of these ingredients:

~ 2-3 bay leaves {you will remove these in the end when you serve the soup}

~ lots of fresh dill, to taste {or about 1 - 2 tbsp. if dry}

~ 1 quart of home canned tomatoes {or store-bough tomato sauce or tomato puree}

~ 1 small can tomato paste {or add in additional tomato sauce, this is flexible}

~ 1 cube of butter {highly recommended}

~ sprinkle of Braggs seasoning mix {or Mrs. Dash original flavor or your favorite herbal mix}

~ seasoned salt and salt {to taste}


Let this all cook together for about 1/2 hour. Then taste it to see what it needs. Usually it needs more salt, sometimes more dill, sometimes more spices. You can add your own variations. When the vegetables are tender and the flavor is good, then it is ready to enjoy {or freeze for the future in family sized portions}! I noticed that it tastes even better the next day once the flavors have blended together.

Homemaking Hint: Stir the soup as you serve it and dip your ladle into the bottom in order to get the right ratio. If this isn't done properly, you will be left with beans at the bottom of your pot and none in your bowls.


When having fellowship after church, I prepare this soup the day before so little effort is required to make a large meal that day. This serves at least 5 medium-sized families generously. The day we reheat the soup, we often serve it with a relish dish of sliced cheese, olives, and our home canned pickled vegetables. We will also prepare the day before, some angeled eggs or serve bowls of hard-boiled eggs if time is lacking. Finally, we put out platters of finger salads (such as carrot sticks, cucumbers, etc.) and spread out slices of homemade bread with pats of butter. Being that most of this food is prepared from our farm, it is a very frugal and nourishing homestead meal! For other easy to make recipes, visit here.