Monday, February 27, 2012

Keepers at Home ~ Historical Home Tour


"Home! The place where all man's best and happiest hours are passed.

Where in our language shall we find a word of four letters that stirs the sweet pulses of life,

like this of home - our home?"

~ Sarah Josepha Hale

Chawton, Nr Alton, Home of Jane Austen

“Ah! There is nothing like staying at home, for real comfort.”

~ Jane Austen


Rocky Ridge Farm, Home to Laura Ingalls Wilder

"Home is the nicest word there is."

~ Laura Ingalls Wilder


Orchard House, Home of Louisa May Alcott

“The power of finding beauty in the humblest things makes home happy and life lovely.”

~ Louisa May Alcott


Dorset, Summer Home of Elizabeth Prentiss (Photo Credit)


“The best convent for a woman is the seclusion of her own home.

There she may find her vocation and fight her battles,

and there she may learn the reality and the earnestness of life.”

 ~ Elizabeth Prentiss


The Biblical Home


"That they may teach the young women to be sober,

to love their husbands, to love their children,

To be discreet, chaste, keepers at home, good,

obedient to their own husbands,

that the word of God be not blasphemed."

 ~ Titus 2:4-5


Keepers at Home


Oh, the sweet sentiments of home!

What a blessing to be a "keeper"

where your dear ones roam.

You have the honor to govern the place that all hold dear,

Embrace this beautiful role with love,

beauty, godliness and great care.

~ JES

All the fine print. This post may be shared with some or all of the following link-ups: The Art of Home-Making MondaysModest Mom Monday'sMonday's MusingsMake Your Home Sing MondayGood Morning Mondays,  The ScoopTitus 2 TuesdaysTuesdays with a TwistRaising HomemakersWise Woman Link UpHomestead Blog Hop Wow Us Wednesdays,  Coffee and ConversationHomemaking ThursdaysHome Sweet HomeOur Simple HomesteadFrom the Farm Blog HopFront Porch Friday Blog HopAwesome Life Friday Link UpFive Star Frou Frou FridayShabbilicious FridaySimply Natural Saturdays and Clever Chicks Blog Hop. Thank you lovely ladies for hosting these. This post may contain affiliate links (which are merchant links that help to support this site at no additional cost to you if you purchase an item through them).

Saturday, February 25, 2012

Coffee Cake ~ Make Two for the Time of One


“Mrs Forrester ... sat in state, pretending not to know what cakes were sent up, though she knew, and we knew, and she knew that we knew, and we knew that she knew that we knew, she had been busy all the morning making tea-bread and sponge-cakes.” 
~ Elizabeth Gaskell, Cranford

There is something so majestic about having a coffee cake to greet you when you are ready for that morning cup of brewed beans or that afternoon pot to refresh yourself. It makes the moment of that first sip *heaven*. I had almost forgotten about these tasty treats until I came across this easy recipe which only required one bowl. That is the most decadent part in all of this!


The beauty of coffee cake is all the basic ingredients.


Flour, sugar, butter, eggs...

Place them lovingly into a bowl and mix away.


Something special arrives once the batter is placed into the heated oven.


Don't forget to frost these dazzling desserts with a little mixture of powdered sugar and heavy cream.

A sprinkle of nuts is the icing on the cake.


Note to self: Never endeavor to mess up a kitchen for one cake when you can make two with the same amount of ease, effort and oven energy. I just place the other treat safely in a plastic container and nestle it into a corner of the freezer. There is always a friend or family who could use some cheering up.


Here is the recipe (Cinnamon Swirl Bundt Coffee Cake) I used… Enjoy!

All the fine print. This post may be shared with some or all of the following link-ups: The Art of Home-Making MondaysModest Mom Monday'sMonday's MusingsMake Your Home Sing MondayGood Morning Mondays,  The ScoopTitus 2 TuesdaysTuesdays with a TwistRaising HomemakersWise Woman Link UpHomestead Blog Hop Wow Us Wednesdays,  Coffee and ConversationHomemaking ThursdaysHome Sweet HomeOur Simple HomesteadFrom the Farm Blog HopFront Porch Friday Blog HopAwesome Life Friday Link UpFive Star Frou Frou FridayShabbilicious FridaySimply Natural Saturdays and Clever Chicks Blog Hop. Thank you lovely ladies for hosting these. This post may contain affiliate links (which are merchant links that help to support this site at no additional cost to you if you purchase an item through them).

Wednesday, February 22, 2012

Easy Embellishing with Embroidery ~ Cute Children's Clothing


These decorative t-shirts are fun projects to make for your children, grandchildren or to give as gifts. They also make an excellent first embroidery project for young ladies because they are so easy and  also useful. I have created some cute ones with onesies, too. Buy a larger plain t-shirt and you can embellish your own. You can find many simple shirts at second hand stores that are perfect for this type of handiwork. All that is required in this project is the basic knowledge of the stem stitch (which is taught below) and a few supplies which are listed later. 


What I really liked was the portability of this project. Everything can be stowed into a small bag and taken with you. Think waiting rooms, visits to mother's, park days, play days… 


The supplies are found inexpensively at craft stores. The rule of embroidery thread is the thinner the fabric, the lighter your thread. You want to use heavier cotton strands for thicker fabrics. When doing these t-shirts, I used two strands of  floss. You can experiment with the looks that you like.

Suggested Supplies:
  • Plain shirts or anything else you want to decorate such as dishtowels, book bags, linens, etc.
  • Iron On Transfer Patterns
  • Embroidery Floss (I use DMC)
  • Embroidery Hoop
  • Embroidery Needles


Any small pieces of ribbons, rick-rack and rose strands make a dainty detail to the neckline. I used a pink stem stitch around the strawberry shirt but used my remnants of rick-rack for the rest. Little beads made for sweet seeds on the strawberry shirt and they dotted the butterfly wings on the other. I am sure you have some goodies laying around that would make darling accents. (Just make sure it isn't a choking hazard for the wearer.)


These old fashioned-style transfers make this an easy project. They are the secret ingredient! You just iron them on your chosen piece and you may re-use each print a few times. They are very affordable and the ideas are limitless when you have these treasures. Once you iron the design on, you just outline the picture with the stem stitch. It's that simple.

Stem Stitch Instructions ~

"The first stitch which is taught to a beginner is the “stem stitch”. It is most useful in work done in the hand, and especially in outlines of flowers, unshaded leaves, and arabesque, and all conventional designs.

STEM STITCH

"It may be best described as a long stitch forward on the surface, and a shorter one backward on the under side of the fabric, the stitches following each other almost in line from left to right. The effect on the wrong side is exactly that of an irregular back-stitching used by dressmakers, as distinguished from regular stitching. A leaf worked in outline should be begun at the lower or stalk end, and worked round the right side to the top, taking care that the needle is to the left of the thread as it is drawn out. When the point of the leaf is reached, it is best to reverse the operation in working down the left side towards the stalk again, so as to keep the needle to the right of the thread instead of to the left, as in going up."
 ~ Handbook of Embroidery by L. Higgin (1880)


All the fine print. This post may be shared with some or all of the following link-ups: The Art of Home-Making MondaysModest Mom Monday'sMonday's MusingsMake Your Home Sing MondayGood Morning Mondays,  The ScoopTitus 2 TuesdaysTuesdays with a TwistRaising HomemakersWise Woman Link UpHomestead Blog Hop Wow Us Wednesdays,  Coffee and ConversationHomemaking ThursdaysHome Sweet HomeOur Simple HomesteadFrom the Farm Blog HopFront Porch Friday Blog HopAwesome Life Friday Link UpFive Star Frou Frou FridayShabbilicious FridaySimply Natural Saturdays and Clever Chicks Blog Hop. Thank you lovely ladies for hosting these. This post may contain affiliate links (which are merchant links that help to support this site at no additional cost to you if you purchase an item through them).

Thursday, February 16, 2012

Anne or Marilla? ~ Which Are You?

Anne of Green Gables by Cate McCauley

“I'm in the depths of despair!"
Anne of Green Gables

I remember my younger years and feeling like the famous Anne of Green Gables. Energy and excitement abounded along with passion for everything. Loud exclamations, dramatic sighs, and bursting with tears in the next moment. I loved the feeling of the wind in my hair when the window was rolled down and would run in the rain!

But now… sometimes I feel like I am turning into Marilla.


I don't want the wind to blow through my hair because of the knots I will have to comb out. I would rather not run in the rain because I don't like the feeling of my clothing sticking to me.  I do not want to track in mud or bring wet leaves into the house. When I hear a dramatic exclamation in my tiny home, I find myself thinking that there must be a quieter way to express oneself. 

But then… certain days come upon me and I feel like running through our fields! I want to frolic and bask in the sun and am grateful for all the greens, flowers and creation in general! I want to yell into the wind and I find myself laughing louder than I should!

I suppose a part of it is called growing up…

“They keep coming up new all the time - things to perplex you, you know. You settle one question and there's another right after. There are so many things to be thought over and decided when you're beginning to grow up. It keeps me busy all the time thinking them over and deciding what's right. It's a serious thing to grow up, isn't it, Marilla?” 

We become more practical and dependable like Marilla. But the greatness is that we can allow those moments of fresh air to sweep into our lives and breath in the beauty like Anne would.


I believe at times we can be both Anne and Marilla.

That is the beauty of being a woman.

After all...

“I'm not a bit changed--not really.
I'm only just pruned down and branched out.
The real ME--back here--is just the same.”


What about you? Are you feeling like Anne or Marilla lately?

All the fine print. This post may be shared with some or all of the following link-ups: The Art of Home-Making MondaysModest Mom Monday'sMonday's MusingsMake Your Home Sing MondayGood Morning Mondays,  The ScoopTitus 2 TuesdaysTuesdays with a TwistRaising HomemakersWise Woman Link UpHomestead Blog Hop Wow Us Wednesdays,  Coffee and ConversationHomemaking ThursdaysHome Sweet HomeOur Simple HomesteadFrom the Farm Blog HopFront Porch Friday Blog HopAwesome Life Friday Link UpFive Star Frou Frou FridayShabbilicious FridaySimply Natural Saturdays and Clever Chicks Blog Hop. Thank you lovely ladies for hosting these. This post may contain affiliate links (which are merchant links that help to support this site at no additional cost to you if you purchase an item through them).

Sunday, February 12, 2012

No More Fears ~ Calm My Anxious Heart

Isaiah 41:10

I used to worry about everything. And when I wasn't worried about something, then I worried that I forgot something that I should be worrying about! These verses really helped to heal... I made it a point to memorize 2 Timothy 1:7 (below) and it has been the tool to ward off those thoughts every time they come.

"And he said unto them, Why are ye so fearful?
how is it that ye have no faith?"
~ Mark 4:40

"Be strong and of a good courage, fear not, nor be afraid of them:
for the Lord thy God, he it is that doth go with thee; he will not fail thee, nor forsake thee."
~ Deuteronomy 31:6

"For God hath not given us the spirit of fear; 
but of power, and of love, and of a sound mind."
~ 2 Timothy 1:7

I had to realize that if God was not the one giving the fear, then it must have been from another source, one that I don't care to give my time, efforts, thoughts and heart to. What a difference a life of faith makes... a faith that doesn't fear at every obstacle.

"For I the Lord thy God will hold thy right hand, saying unto thee,
Fear not; I will help thee."
~ Isaiah 41:13

Suggested Reading:


Calm My Anxious Heart by Linda Dillow

All the fine print. This post may be shared with some or all of the following link-ups: The Art of Home-Making MondaysModest Mom Monday'sMonday's MusingsMake Your Home Sing MondayGood Morning Mondays,  The ScoopTitus 2 TuesdaysTuesdays with a TwistRaising HomemakersWise Woman Link UpHomestead Blog Hop Wow Us Wednesdays,  Coffee and ConversationHomemaking ThursdaysHome Sweet HomeOur Simple HomesteadFrom the Farm Blog HopFront Porch Friday Blog HopAwesome Life Friday Link UpFive Star Frou Frou FridayShabbilicious FridaySimply Natural Saturdays and Clever Chicks Blog Hop. Thank you lovely ladies for hosting these. This post may contain affiliate links (which are merchant links that help to support this site at no additional cost to you if you purchase an item through them).

Monday, February 6, 2012

Sowing Seeds in Early Spring


"Might I," quavered Mary, "might I have a bit of earth?"
In her eagerness she did not realize how queer the words would sound and that they were not the ones she had meant to say. Mr. Craven looked quite startled.
"Earth!" he repeated. "What do you mean?"
"To plant seeds in--to make things grow--to see them come alive," Mary faltered.
The Secret Garden by Frances Hodgson Burnett

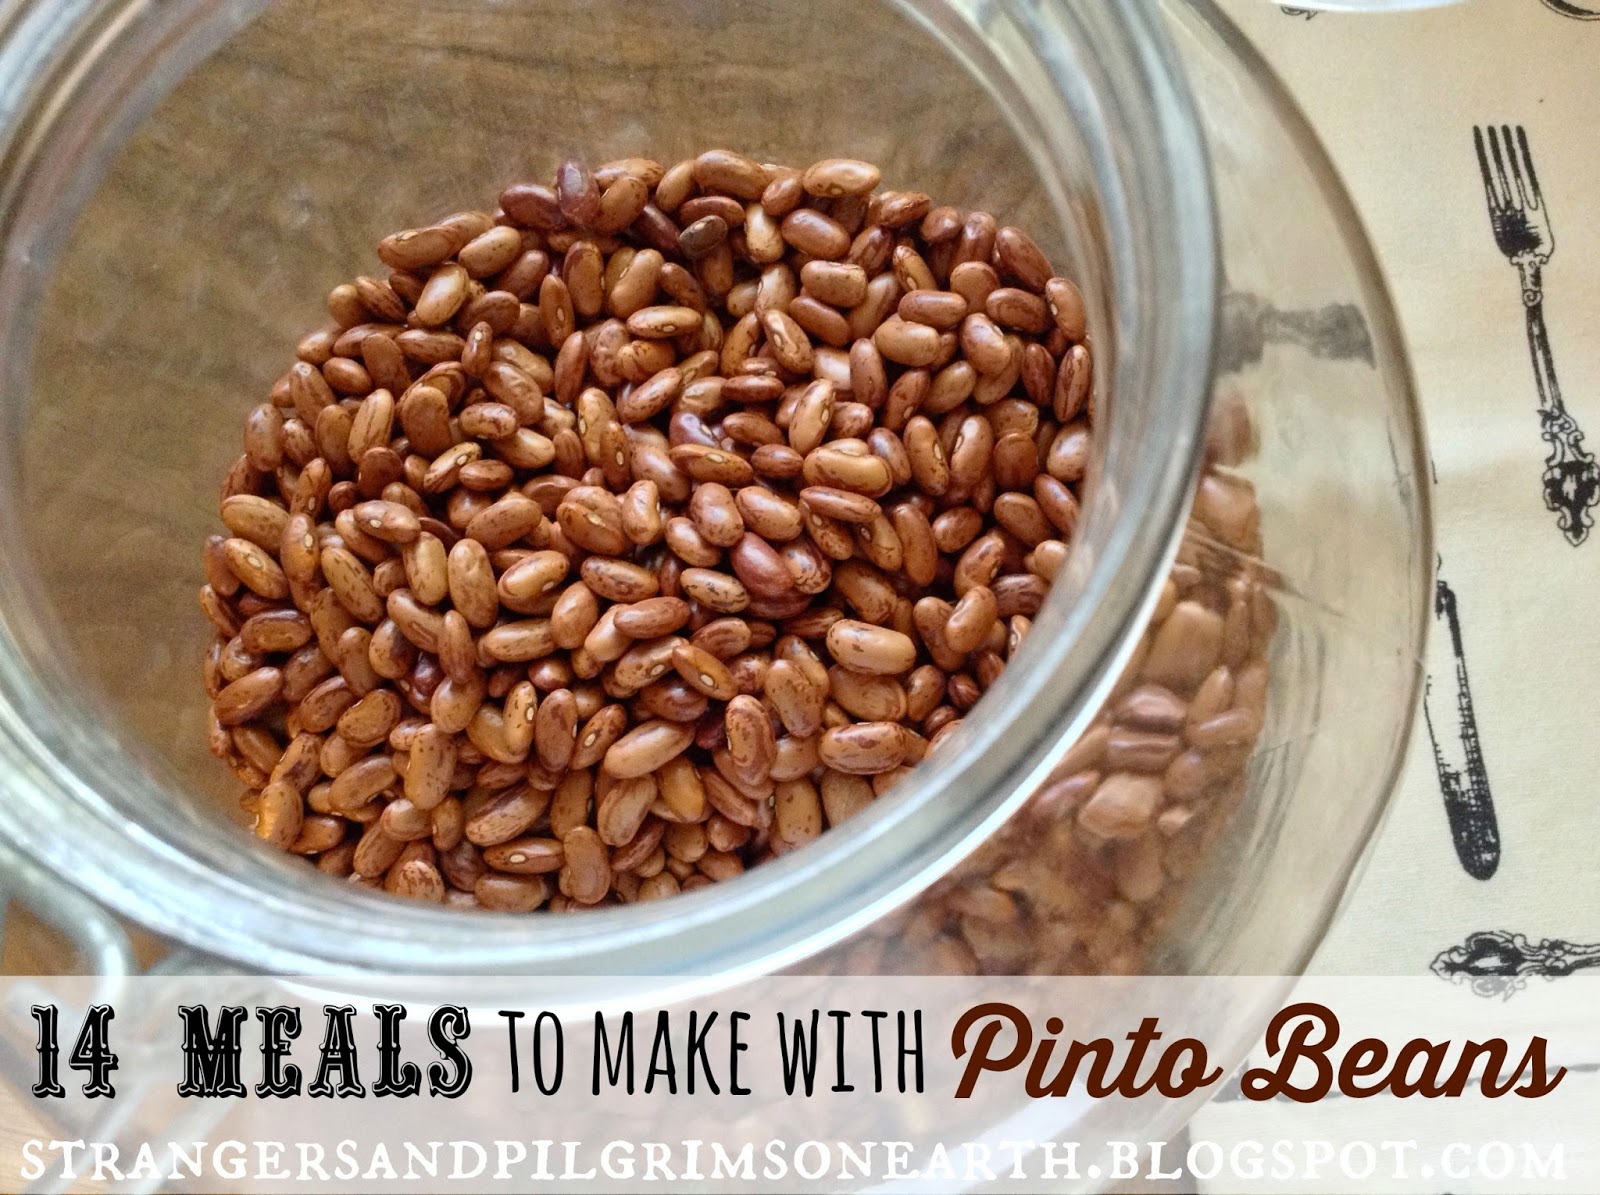
It may be hard to imagine a garden right now but it is actually the perfect time to start preparing. Many seedlings can be started indoors for a head start to produce an earlier crop. There is nothing healthier and more affordable than your own produce. Even a small planter or a few pots can give you some fresh tomatoes and herbs to create tasty salsas, pasta sauces and summer salads. Start small and your gardening skills will grow! Or start small just to make sure you will actually do it!

Visit your local garden center and start by purchasing some seeds...

May I suggest these basics that you can start now in the warmth of your home?
  • Tomatoes
  • Bell peppers
  • Chili Peppers
If you only had a limited space or time, I would hands-down advise that you plant tomatoes. They are so versatile and the flavor is supreme.  You will not be able to purchase any like it in the grocery stores! There is nothing like a *fresh* tomato… One that is actually RED! Layer them with fresh mozzarella, balsamic vinegar, olive oil and basil for the tastiest treat. Or chop them up with onions, peppers, cilantro and parsley for dipping with corn chips on those hot summer days. Simmer them with garlic, onions and herbs for the most flavorful pasta sauces. Toss them with italian dressing and cold rotini and whatever produce you have on hand for a chilled pasta salad. Add them to a grilled cheese sandwich...

Peppers are a great companion to the tomato. You can go italian style with your food by planting bell peppers or you can go mexican style by planting some chili peppers (or mix and match flavors). Either one or both would be a great addition. Bell peppers are great for fajitas, dipping in ranch, partnered in pasta salads and green salads while the chili peppers can be simmered with the tomatoes for hot sauces and used cold in a variety of salsas.

Of Herbs, and Other Country Messes by A. Hughs

“However many years she lived,
Mary always felt that 'she should never forget that first morning 
when her garden began to grow'.”
The Secret Garden by Frances Hodgson Burnett

Herbs would be another seed I would start right now that will compliment the above mentioned vegetables. They are great additions to the sauces, salsas, soups and salads. They are also an extremely healthy way to flavor food without all those disagreeable preservatives. You can get so creative with herbs and are sure to have a culinary blast as you chop and add into all your food adventures.

May I suggest:
  • Basil
  • Chives (We really love the garlic chives!)
  • Oregano
  • Parsley
  • Thyme
Lady in a Garden by Edmund Blair Leighton

“And the secret garden bloomed and bloomed
and every morning revealed new miracles.”
The Secret Garden by Frances Hodgson Burnett


Lastly, if you are a romantic like myself, then flowers can also be started indoors…

You can begin with the following seeds which are my personal favorites:
  • Sweet Peas
  • Delphiniums
  • Hollyhocks
  • Queen Anne's lace
  • Larkspur
I use old yogurt cups, bottoms of water bottles, sour cream containers, etc., to plant the seeds in. Just make sure you pokes holes in the bottom prior to planting for water drainage. It also helps to label what seed you planted and where. The other items you will need is a water spray bottle to mist and keep the soil moist and some good potting soil. Another helpful idea is to cover the planted seeds with a plastic bag or plastic wrap (with some holes poked for air) to keep the moisture in until the seedlings sprout. At that point, I would uncover them and keep them moist (but not waterlogged) until about three shoots of leaves grow from them. If the weather is warm enough and the danger of frost is over, then you may place them into the earth at this point. If not, then continue maintaining them until the sun makes its appearance in the form of warmth.


All the fine print. This post may be shared with some or all of the following link-ups: The Art of Home-Making MondaysModest Mom Monday'sMonday's MusingsMake Your Home Sing MondayGood Morning Mondays,  The ScoopTitus 2 TuesdaysTuesdays with a TwistRaising HomemakersWise Woman Link UpHomestead Blog Hop Wow Us Wednesdays,  Coffee and ConversationHomemaking ThursdaysHome Sweet HomeOur Simple HomesteadFrom the Farm Blog HopFront Porch Friday Blog HopAwesome Life Friday Link UpFive Star Frou Frou FridayShabbilicious FridaySimply Natural Saturdays and Clever Chicks Blog Hop. Thank you lovely ladies for hosting these. This post may contain affiliate links (which are merchant links that help to support this site at no additional cost to you if you purchase an item through them).

Thursday, February 2, 2012

Pot of Pinto Beans ~ 14+ Meals to Make ~ Free Menu Printable


"There's nothing like good hot bean soup on a cold day," said Pa.
~ Laura Ingalls Wilder, The Long Winter

Pinto beans are an absolute staple in our home. I make a large batch every few weeks. To prepare, soak dry beans overnight in warm water (I start off with about 1/3 full of dry beans in a 16 quart pot). The next day, drain the water and add a fresh batch of water (supposed to reduce potential stomach hazard) to just cover the beans. Bring to a boil and simmer for an hour or so. Then, add a large can of tomato sauce, a few taco seasoning packets, a cube of butter, five or so chopped onions, some chili powder and continue to simmer ingredients together for about 2-3 hours until they are tender. These are so simple and so forgiving but very versatile and healthy! {If you notice your beans are usually on the tough side, boil them at the beginning for ten minutes before you begin simmering. Also, do not add salt until the end when you are doing your final taste testing. This can yield tough beans too!}

"Rice and pinto beans served with cornbread or corn tortillas are often a staple meal where meat is unavailable; the amino acids in this combination make it a complete protein source."
~ Wikipedia


Fourteen Meals to Make with Beans:
  • Tostadas: Serve the tostada shell with beans, along with sour cream, guacamole, shredded lettuce, chopped tomatoes, sliced chives, sliced olives and salsa.
  • Bean Quesadilla: Smear beans on flour tortilla, sprinkle with cheese and place another tortilla on top. Cook on both sides in a hot frying pan (without grease) until cheese is melted. Cut into triangles and serve with salsa, guacamole and a green salad.
  • Bean Enchiladas: Use beans in your favorite enchilada recipe in lieu of meat. I also usually add some sauteed bell pepper and onions to the filling as well. Serve with rice, guacamole and a green salad.
  • Bean Soup: Sautee whatever vegetables you have on hand including onions, add to the beans along with tomato sauce, a boullion cube. Simmer until flavors are blended and serve with shredded cheese, corn bread and green salad.
  • Fried Bean and Cheese Burritos: These are really good for on the go food. Simple place beans and cheese inside a flour tortilla, wrap them up and fry in oil until golden on each side. Serve with salsa, guacamole and a green salad.
  • Basic Bean Burritos: Reheat your beans and serve with warm tortillas along with shredded lettuce, chopped tomatoes, chopped onions, shredded cheese, guacamole and salsa. You can also serve rice as a filling. Here is an easy flour tortilla recipe if you would like to try making them.
  • Bean Tacos: Use the same fillings as above and use beans in lieu of meat. It is also tasty with a coleslaw sprinkled on top.
  • Beans on Rice: Simply prepare some rice and place your beans on top. Add a sprinkle of shredded cheese. Serve with a green salad.
  • Nacho Style Bean Platter: Melt cheese on top of tortilla chips in the oven. Sprinkle warm beans on top along with fresh salsa if you choose. This is a tasty snack or light lunch if served with some guacamole.
  • Eight Layer Bean Dip: Smear beans on the bottom of a casserole dish above 1/2 inch worth. Next, smear some sour cream across the top of that. Spread guacamole on top of that layer. Spread salsa on the next layer. Now, sprinkle shredded cheese on top. Next, sprinkle sliced olives on top along with chopped chives. If you have cilantro or parsley, that can be added as the finally. Serve with tortilla chips and dip in.
  • Taco Salad: Create a basic green salad and add your beans, shredded cheese, avocados, olives, crushed corn chips, red bell peppers, baby corn and chives along with a salad dressing of your choice. Serve with corn bread.
  • Beans on Pasta: Prepare your favorite pasta and ladle your beans on top. Add a sprinkle of shredded cheese. Serve with a green salad.
  • Frozen Bean Burritos: This is what I do with my extra beans and love the look of them in my freezer, just waiting for that time of need! See below.
  • Chili Cheese Fries: Recipe shared below (new addition, not on printable).
  • Fast and Festive Taco Casserole: Recipe shared below (new addition, not on printable).

I like to make bean burritos for the freezer for those last minute needs such as road trips, field trips or an on the go day. We do not eat "out" for a variety of reasons so I create my own meals to be ready and available.


To prepare: Place 1/4 cup of beans on your tortilla, add 1/4 cup of rice on top of the beans (I cook my rice in chicken broth), sprinkle cheese to taste, and roll up your tortilla. Place on foil and wrap up your basic burrito.

Allot the amount you would like for your family servings into bags. I usually prepare two dozen at a time and place a dozen in one bag and a dozen in the other. What is also nice is you can just grab any amount needed from the bags for a quick lunch for hubby or you when necessary. Freeze for future use but don't forget to bring the hot sauce when you finally serve them!

Heating Instructions: If thawed first in refrigerator, bake with foil on in 300 degree oven for 30 minutes. If frozen, bake with foil on in 375 degree oven for 30 minutes.


And finally, our newest favorite meals to make with beans! First off are these "chili cheese fries". Visit here for the simple recipe!


And, if you have some ground beef on hand, you may also like to try our Fast and Festive Taco Casserole which can be prepared with either pinto or black beans!


HERE is a printable summary of these ideas for your recipe book. Perhaps you will want to place this page behind the "main dishes" tab but in the very front. Look upon it on those days when you don't know what to make and hopefully have a stash of these tasty beans in your freezer! You may also be interested in our Black Bean Menu Ideas or learning how to pressure can beans for your pantry.

What else do you do with pinto beans in your home?
All the fine print. This post may be shared with some or all of the following link-ups: The Art of Home-Making MondaysModest Mom Monday'sMonday's MusingsMake Your Home Sing MondayGood Morning Mondays,  The ScoopTitus 2 TuesdaysTuesdays with a TwistRaising HomemakersWise Woman Link UpHomestead Blog Hop Wow Us Wednesdays,  Coffee and ConversationHomemaking ThursdaysHome Sweet HomeOur Simple HomesteadFrom the Farm Blog HopFront Porch Friday Blog HopAwesome Life Friday Link UpFive Star Frou Frou FridayShabbilicious FridaySimply Natural Saturdays and Clever Chicks Blog Hop. Thank you lovely ladies for hosting these. This post may contain affiliate links (which are merchant links that help to support this site at no additional cost to you if you purchase an item through them).