Wednesday, December 9, 2015

How to Make & Can {French Style} Lemon Peel Syrup {Just Scraps & Sugar} ~ Citrus Series


{Note: I am excited to continue our Citrus Series this winter with this first post of the season!}

"When life gives you lemon scraps, you can make sweet syrup."

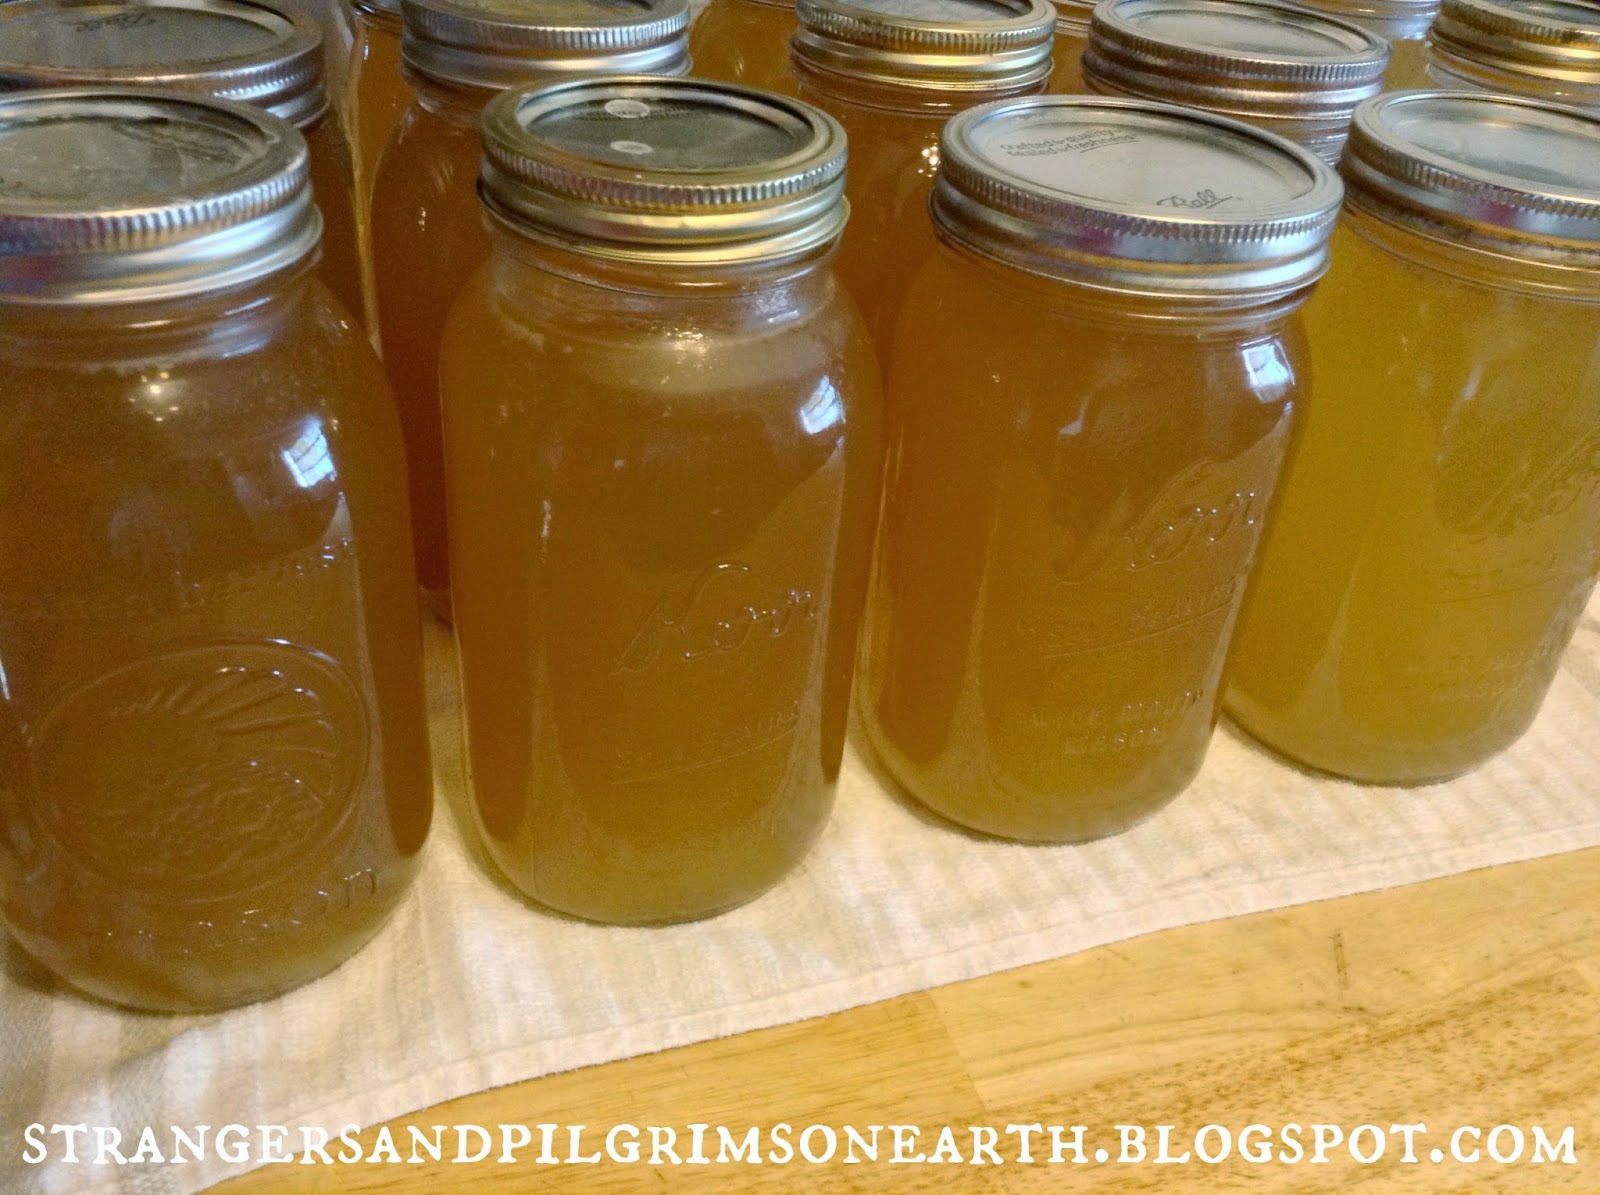
This "French inspired" lemon syrup is made from the leftover pieces of lemons we had after freezing containers of lemonade concentrates for our future summer enjoyment. Yes, with a bit of sugar, we were able to create and can this lovely syrup from the discarded peels, pith and seeds! This can be drizzled into seltzer water for a sparkling soda or water for a quick lemonade. Add it to your basic icing recipe to liven up a cake. Sweeten and flavor teas with it and anything else you can think of!


Simply toss all the leftover lemon scraps you have (peels, including the pith and even the seeds as they all contain pectin) into your crockpot and then place it in your fridge until bedtime. I am guessing you are much too tired from the project that created the scraps in the first place so that you will want to do this one tomorrow.


Now, add enough water to just cover the scraps, place the lid on your crock pot and turn it on "low". Lemons are buoyant so don't worry about the floaters as they don't need to be completely submerged. Let this slowly simmer overnight (about 6 - 8 hours) while you sleep and rest your weary, hardworking body.


Turn off the crock pot when you wake up and you can strain it once it cools down a bit (a few hours is fine as I waited until my morning routine was finished before I continued this).


To strain the juice, we lined our stock pot with a large paint strainer and dumped the cooled contents inside. You can use whatever system works for you.


Then we gathered it up like a jelly bag and let it hang over the pot in order to drain the excess liquid. Press any remaining juice through and make sure you measure your final volume of lemon water.


Next, place your measured juice in a large enough pot and bring it to a raging boil. Now that it is boiling aggressively, add your sugar.


You will need half the amount of sugar as there is liquid for this recipe. For instance, our liquid measured out at 12 cups so I added 6 cups of sugar.


Boil this mixture rapidly until it reaches a syrupy consistency or until at least 1/3 of the liquid has evaporated. This will take some time (about 20 to 30 minutes depending on your volume) and is a good moment to get all your canning gear in order. It is not necessary to stir the syrup continuously, just once in a while to make sure nothing is burning at the bottom (which it shouldn't).


When you reach your desired consistency, ladle the hot syrup into hot, sterilized jars, leaving 1/4 inch headspace.


Wipe the jar rims, adjust the canning lids and begin processing for 5 minutes in a boiling water bath. For more detailed step by step canning directions, visit here.


Now for the "French" part. It really is these vintage labels (as you may have guessed) and the fact that France seems to sell lots of "Sirop de Citron" (aka lemon syrup). This just seemed like something you would find on an expensive Williams Sonoma shelf. Something that I normally couldn't afford but am now making with discarded pieces. Frugal and French... how can you go wrong?! You can either glue on your labels with a glue stick, or for a stronger adhesive, print them on sticker paper. You will find our free printable {here}.


Now, of course you could also choose to make cleaning products with the peels, or even tea blends, lemon pepper or lemon extract but today was simply a syrup making day for the humble pantry.


If you enjoyed this project, we share 100+ more ideas on how to use up fruit scraps in our Ebook here! Happy kitchen-crafting, ladies!


All the fine print. This post may be shared with some or all of the following link-ups: The Art of Home-Making Mondays, Modest Mom Monday's, Monday's Musings, Make Your Home Sing Monday, Good Morning Mondays,  The Scoop, Titus 2 Tuesdays, Tuesdays with a Twist, Raising Homemakers, The Homesteader Hop, Wise Woman Link Up, Homestead Blog Hop,  Wow Us Wednesdays,  Coffee and Conversation, Homemaking Thursdays, Home Sweet Home, Our Simple Homestead, Awesome Life Friday Link Up, Five Star Frou Frou Friday, and Shabbilicious Friday. Thank you lovely ladies for hosting these. This post may contain affiliate links (which are merchant links that help to support this site at no additional cost to you if you purchase an item through them).

Thursday, December 3, 2015

The Secret to Flavorful Scrambled Eggs by Laura Ingalls {Sort of}


“I have had, in my time, memorable meals of scrambled eggs with fresh truffles, scrambled eggs with caviar and other glamorous things, but to me, there are few things as magnificent as scrambled eggs, pure and simple, perfectly cooked and perfectly seasoned.”
~ James Beard, 'On Food' (1974)

Living on a farm and raising our own chickens means we eat lots of eggs! And quite honestly, lots of scrambled eggs in particular. They are quick and easy to whip up and fill up that farm boy I married quite well. However, I admit to not being completely in love with them until... this little concept came our way.


You see, my daughter splurged on the My Prairie Cookbook last summer and found this seasoning tip in the very end of the author "acknowledgement section" (yes, she reads all the nitty gritty!). Melissa Gilbert randomly shared how she learned to add garlic powder to her eggs from a dear old childhood friend. Of course, my daughter had to try this out and a new flavor was born for breakfast, lunch and (let's face it) dinner.


The ratio we like is approx. 1/8 tsp. of garlic powder for every 5 eggs we scramble.

As everyone makes eggs a bit differently, I will give a quick summary of our version for fun. First off, we prepare our egg mixture by whisking together our eggs, salt, pepper, garlic powder and a generous glug of either milk, half and half or heavy cream. Meanwhile, heat up your skillet and add a generous pat of real butter. When melted and slightly bubbling, add your scrambled egg mixture and let it firm up a bit in the pan. Sprinkle some shredded cheese on top and gently stir until eggs are set. Finish off with another sprinkle of cheese and some freshly ground pepper and they are ready to serve!


If you decide to give this a try, let me know how you like them! Also, I would love to hear any scrambled egg tips and/or recipes you have to share! Oh, and a bit about My Prairie Cookbook; it features farm-style foods with an updated homespun look, lots of pretty pictures, personal reminiscence and photos of The Little House on the Prairie television series and basic frontier fun in general. Happy homemaking! :)

Wednesday, November 25, 2015

Ode to Pilgrims ~ A "Give Thanks" Round Up


"Dearly beloved, I beseech you as strangers and pilgrims,
abstain from fleshly lusts, which war against the soul..."
~ 1 Peter 2:11

In honor of our blog namesake, we are sharing an "Ode to Pilgrims ~ Give Thanks" round up:


"These all died in faith, not having received the promises,
but having seen them afar off, and were persuaded of them, and embraced them,
and confessed that they were strangers and pilgrims on the earth."
~ Hebrews 11:13


Have a lovely week of family and fellowship!


Friday, November 20, 2015

Beauty of Bone Broth ~ Some Stock Talk, Tips and Canning Too!


"Science validates what our grandmothers knew. Rich homemade chicken broths help cure colds. Stock contains minerals in a form the body can absorb easily—not just calcium but also magnesium, phosphorus, silicon, sulphur and trace minerals. It contains the broken down material from cartilage and tendons–stuff like chondroitin sulphates and glucosamine, now sold as expensive supplements for arthritis and joint pain."
~ Sally Fallon Morell, Author of Nourishing Traditions

One of the most healthiest and frugalest ways you can feed your family this fall and winter is to prepare large batches of bone broth. The stock is also a way you can use up all those veggies and scraps you have sitting in the crisper drawer (a veggie saved is a meal earned!). This rich broth can be the base of all your winter soups giving all your meals a nutritional boost! It can be the golden liquid used in place of water to make all your rice dishes spectacular and healthier. It can be the base for that simmering pot of beans. It can be cooked down into thick and flavorful gravies. It can also be ladled as-is into a thermos to keep your husband warm and nourished during those frigid winter days (beef tea if you will)!

“Good broth will resurrect the dead.”
~ South American Proverb


Bones and Your Budget {and Second "Stock Tip"}

You can either collect every single bone (the good, the bad and the ugly) when butchering like we do, you can buy the bones rather inexpensively at the local butcher shop and/or, you can save them from your regular "meat" meals (yes, even after you have cooked up a roast or turkey, you can still re-use those bones! I will actually collect the bones after a meal of oven-fried chicken... from the plates (yes!). There are so many health benefits to these bones that I can't control my frugal self). Also, you can make a few batches of broth with the same set of bones. It is called "second stock".

"SECOND STOCK is made from the meat and the bones that remain after the first stock is strained off. More water is added to the remaining material, and this is then cooked with vegetables, which supply the needed flavor. Such stock serves very well for adding flavor to a nutritious soup made from vegetables or cereal foods."
~ Woman's Institute Library of Cookery, Vol. 3 by Woman's Institute of Domestic Arts and Sciences


Homemaking Hints

Something you can do along the way is label a freezer container with the words "broth scraps". Every time you have an end piece/peelings of vegetable or something that is about to expire, add them to the freezer scrap bag. You will have a nice collection of flavor and vitamins when you are ready to boil those bones!

Another step which adds richness and depth to the broth is to roast your bones first (unless these are bones you have saved up from already-made meats/poultry which have already been roasted). I line a large roasting pan with parchment paper for easy clean up and lay out the bones in a single layer for best results. Put them in the oven at 400 degrees Fahrenheit for about 45 minutes. Now, they are ready to be simmered into a sensational stock! 


Three Ways to Prepare

To prepare, fill up your stock pot about 1/3-1/2 of the way full of prepared bones (we use beef, lamb, turkey and chicken) and your choice of vegetables. I added onions, garlic, carrots, celery, peppercorns, Italian seasoning, pink salt and a bay leaf this time. You will also want to add 1/2 cup of apple cider vinegar*. Next, fill the remaining of your pot with fresh, cold water. Let this sit for one hour. The vinegar (and sitting) will help to pull the minerals from the bones. Now, bring this to a boil and let it simmer on your lowest setting for at least 8 hours or more (the longer the better and up to 24 hours). 

You can also place everything in the crock pot and let it go all day and all night if you choose. What I have been doing recently for instant gratification is using my pressure cooker. Being we have a propane stove, fuel is something I try to conserve. The pressure cooker will make a beautiful broth without comprising its nutrients in 45-60 minutes (depending on how "strong" you want the stock).

*Note: Our stock pot is 16 quarts. If yours is smaller, use half the amount of vinegar and so on.
As you simmer the stock, skim the broth when you see undesirable foam appear. You don't want to eat that. When the simmering time is up, simply strain the stock so it is nice and clean.


Removing and Recycling the Fat

Place the pot of strained broth in the fridge overnight and skim the fat the next day (it will rise to the top and harden making it easy to remove). The fat, also called suet will make your birds very happy this winter (perhaps that will be a future post)!


Ready to Eat, Freeze and/or Can

Your bone broth or stock is now ready! You can either use it up right away, freeze it in freezer-safe containers or you may want to can it in your pressure canner (it is unsafe to can stock in a regular, water bath canner).


To pressure can your broth, bring your strained stock back to a boil and ladle into sterilized jars leaving 1" headspace. Place lids and rings on jars and pressure can pints for 20 minutes at 10 pounds pressure and quart jars for 25 minutes at 10 pounds pressure (do make sure to check your altitude to see if longer canning times are recommended for your location). While the finished jars are cooling, it is important to keep them away from cold drafts or the jars may break.


Homemaking Hint

Our large stock pot is 16 quarts. We filled it with approximately 1/3-1/2 high of beef bones and veggie scraps. By the time we were finished simmering, straining the broth and removing the fat, our yield was approximately half of the stock pot. This produced 7 quarts of canned broth. Therefore, If you have a 14 quart capacity pressure canner like we do, you may want to make two batches of broth each time in order to pressure can a full batch.


Just think that many are throwing away their bones and veggie scraps. They are missing out on a pantry or freezer full of valuable, golden, nutrient-dense stock! What the old you would have tossed in the trash, the new you sees as a food possibility and your family will be tremendously blessed by it (via the budget and health to the body)!

"Properly prepared meat stocks are extremely nutritious and contain minerals, cartilage, collagen, and electrolytes all in an easily absorbable form. Also, meat, fish, and chicken stocks contain generous amounts of natural gelatin, which aids digestion and helps heal many intestinal disorders, including heartburn, IBS, disease, and anemia. Science has confirmed that broth helps prevent and mitigate infectious diseases. "
~ Jordan S. Rubin, The Maker's Diet


Some "Stock" Talk {For Further Reading}

Broth is Beautiful by The Weston A. Price Foundation

Broth and Stock from the Nourished Kitchen by Jennifer McGruther


How to (Pressure Can) Homemade Broth by The Prairie Homestead

"The Maker's Diet" by Jordan S. Rubin

"Nourishing Traditions" by Sally Fallon Morell