Showing posts with label Recipe Cards: Bath and Body Care. Show all posts

Wednesday, February 9, 2022

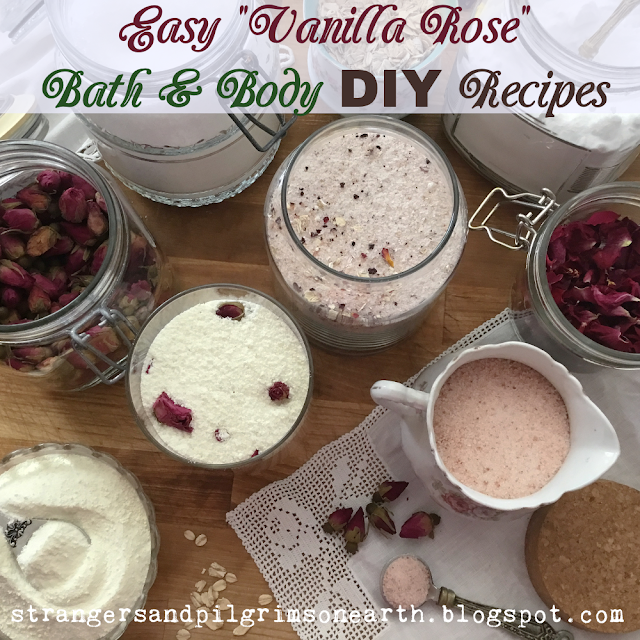
Easy Vanilla Rose Bath & Body DIY Recipes ~ Romantic Homemaking Series


"Ointment and perfume delight the heart..."
~ Proverbs 27:9a

As February is often considered the month of "love", we continue again with our Romantic Homemaking Series. As evidenced by what has been shared thus far, it is fair to say that the rose is the star of the show. To me, they make everything special (but you can always substitute your favorite skin-safe flower in these products). When you integrate bits of beauty into your home rituals, life feels luxurious. A humble home can still prepare an aromatic bath for their loved ones, a refreshing scrub, a fresh perfume and so forth without hindering the budget. These sweet, little recipes can be adapted to whatever you have in your home (I've included mix and match ideas). Be creative with the resources you have and enjoy making up a romantic collection of bath and body recipes for all to enjoy! I also included some printable labels which would make for some lovely gifts too. Now, let's do some kitchen-crafting!

Relaxing Vanilla Rose Bath Salts

Basic Ingredients:

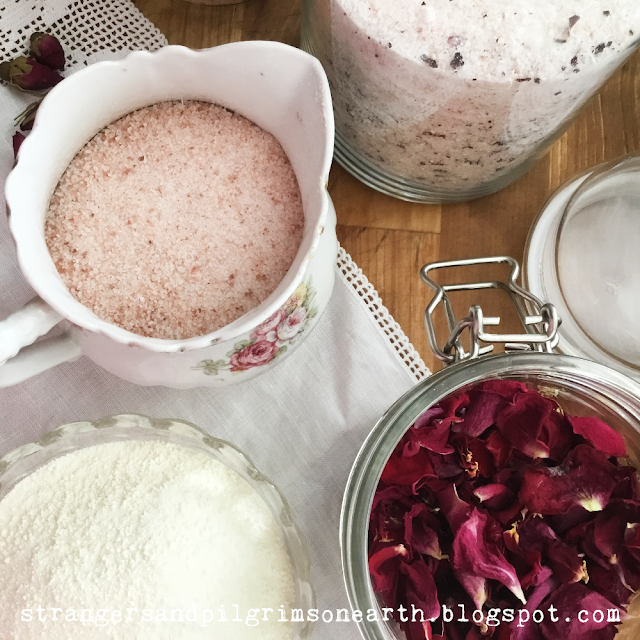
-- 1 c. pink salt, sea salt or Epsom salts

-- 1 c. pink salt, sea salt or Epsom salts (for more variety, use something different than what you chose above)

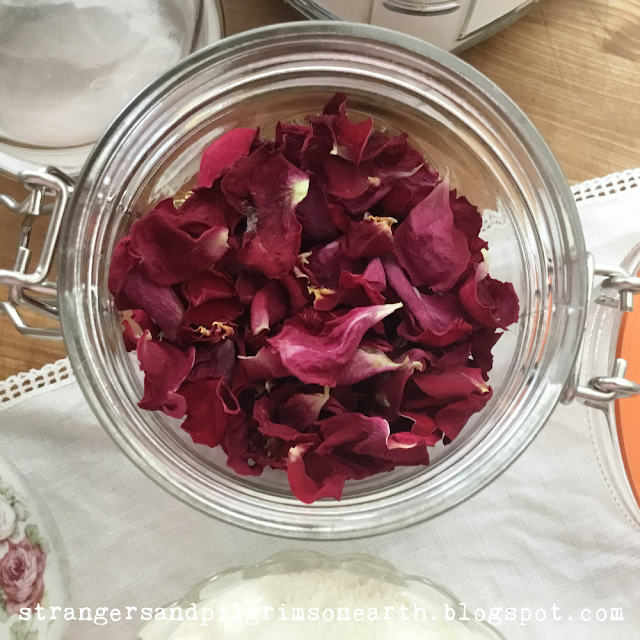
-- 1⁄4 c. dried rose petals (this is a great way to use up a bouquet you may have dried last year or you can use dried lavender, dried dandelion, dried calendula, dried violets, etc. If you don't have anything dried on hand, try adding in the contents of a few herbal tea bags!) 

-- 10 drops of vanilla essential oil  (or 2 tsp. vanilla extract)


Optional luxurious adds-in (mix and match in as much of these as you like):

-- 1/4 c. baking soda

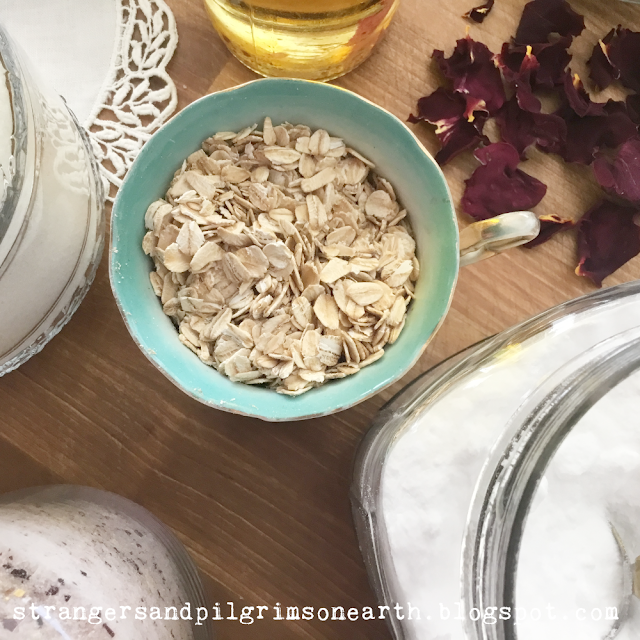
-- 1/4 c. oats

-- 1/4 c. powdered milk

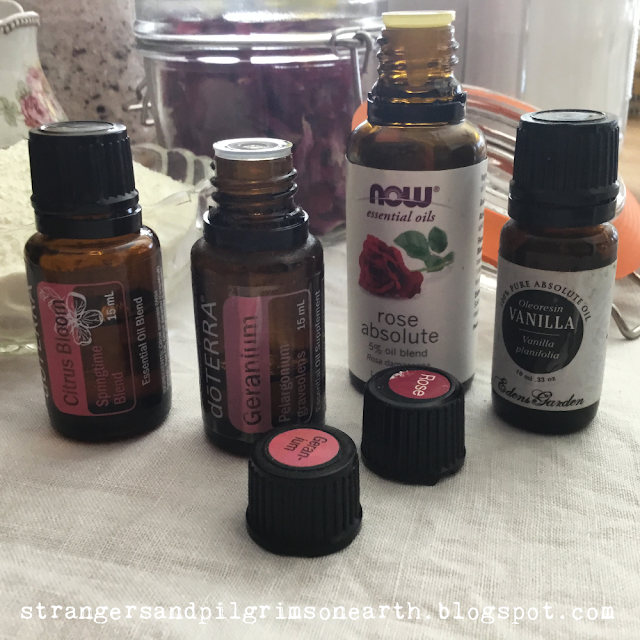
-- 10 drops of romantic fragrant essential oil (my choices are rose absolute, palmarosa essential oil or geranium essential oil -- please add in the drops cautiously and test the fragrance to your liking as you go. I generally use approximately 10 drops of essential oil per cup of product).


Directions:

Blend all ingredients together (except for 1 cup of the pink salt if you are using it) until somewhat smooth (I like to keep a bit of roughage in mine for the more "raw" look). You may also want to add in a few whole petals to the final product to give it a prettier appearance.

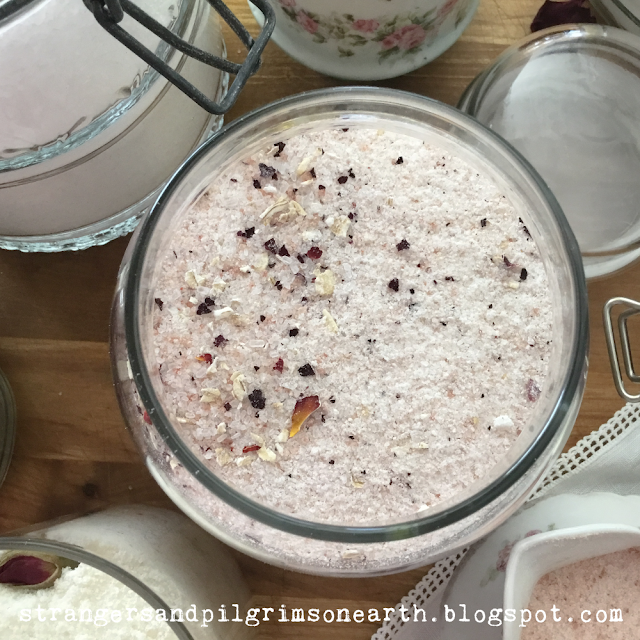
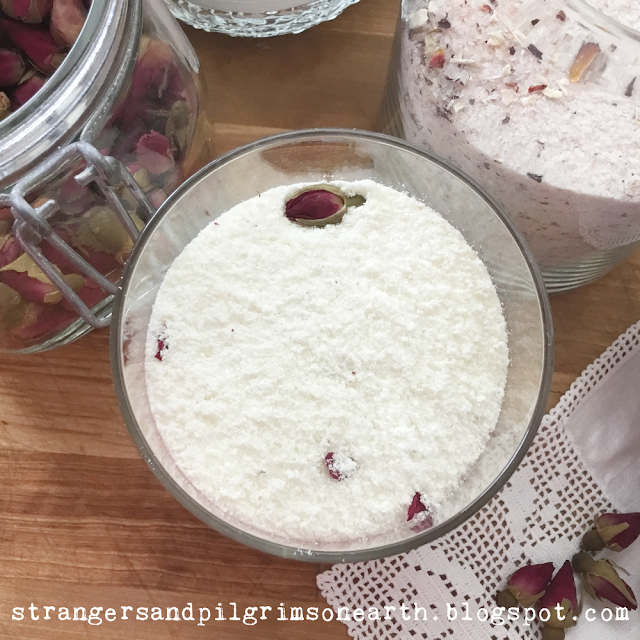
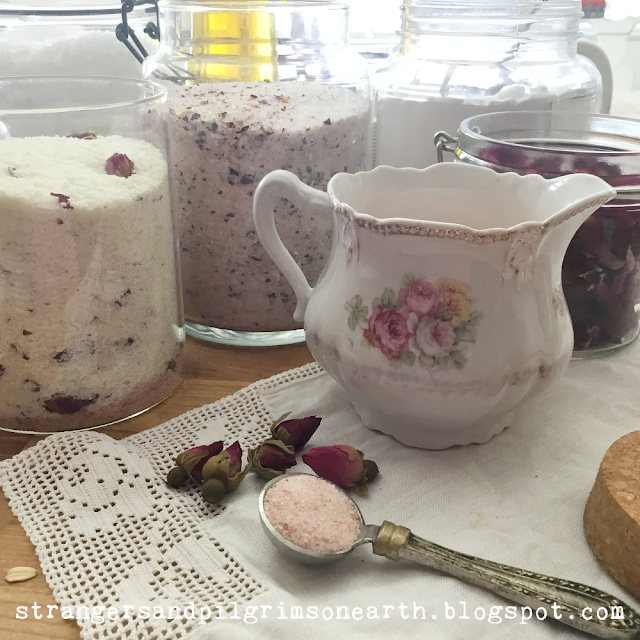
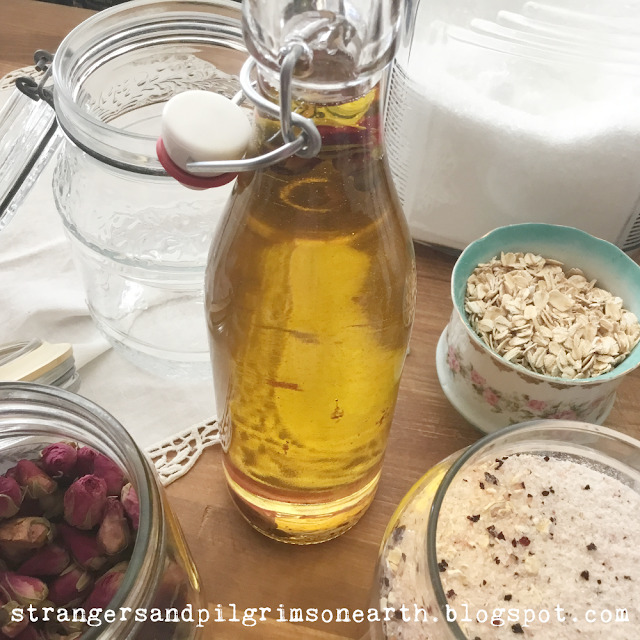
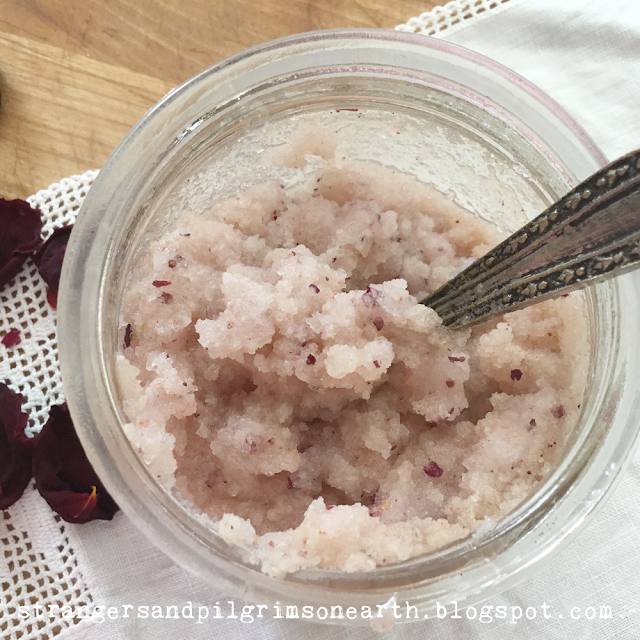
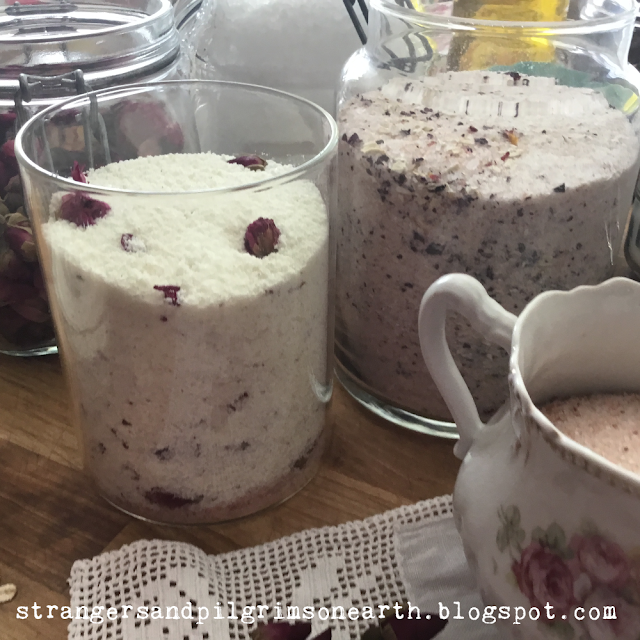
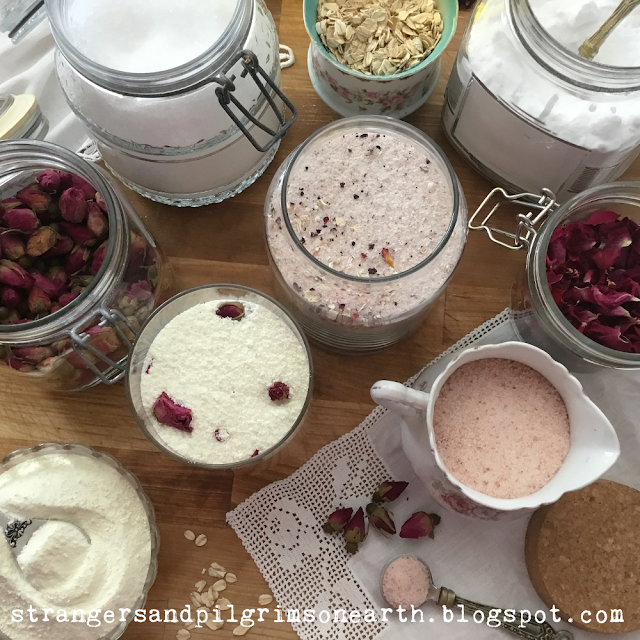
Mix and match different flavors and combinations to make different products! In the first bath salt photo, I focused more on pink salt and the different add-in's to get a rustic but romantic bath salt. In the second bath salt photo, I used more of a sea salt and powdered milk mixture (flecked with rose petals) to give the effect of a "rose milk" bath reminiscent of something sumptuous that Cleopatra might have bathed in. Be creative. It is so much fun! I can't tell you how amazing my kitchen smelled!

To use:

Add 1 cup of bath salts to the water while the tub is filling.

Moonlight Massage Oil (and/or Vanilla Rose Massage Oil) 

Ingredients:

-- 1 c. mild oil (such as grapeseed, almond oil, jojoba, sunflower oil, avocado oil, etc)*

-- 10 drops of vanilla essential oil  (or 1 tsp. vanilla extract)

-- 10 drops of rose absolute (and/or a mixture of palmarosa essential oil, geranium essential oil, or you can use lavender essential oil or your favorite one)

* Alternatively, you can also use a infused oil in lieu of a plain one. Simply prepare a medicinal oil using rose petals instead of the lavender in the tutorial shared here. Or you can use the lavender and any other medicinal flower you like to make a pleasing blend. This is a great option if you don't have essential oils to work with.

Directions:

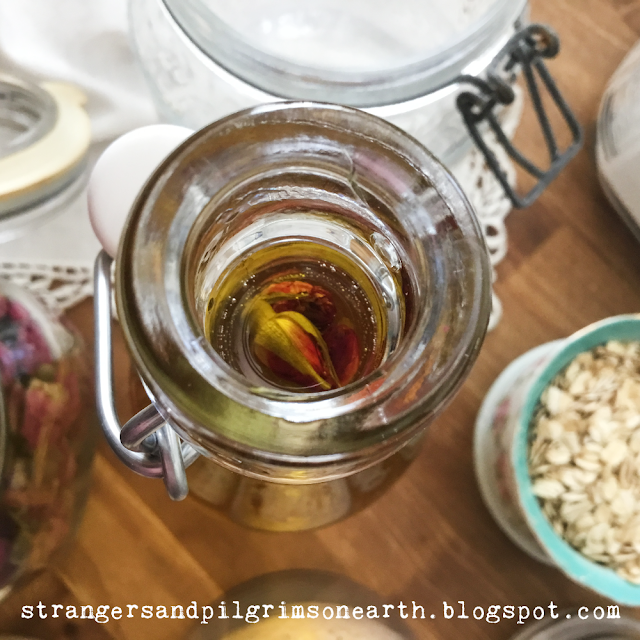
Mix ingredients together and place in a sterile glass bottle. You can add a few sprigs of dried rose buds (or other dried flowers) for embellishment.

To use:

Massage the oil into neck, shoulders and feet to sooth tension, relax muscles and stimulate healthy circulation.

Vanilla Rose Scrub

Ingredients:

-- 1/2 c. sea salt or sugar  (plus 1 to 2 tbsp. more to get desired consistency)

-- 1/4 pink salt (optional for romantic color, you can always use more sea salt or sugar)

-- 1/4 cup coconut oil (melted) (or almond oil, grapeseed, jojoba, sunflower oil, avocado oil, etc)

-- 1/4 cup almond oil (or grapeseed oil, jojoba, sunflower oil, avocado oil, etc)

-- 10 drops vanilla essential oil  (or 1 tsp. vanilla extract)

-- 1 tbsp. coarsely ground dried rose petals (once again, this is a great way to use up a bouquet you may have dried last year or you can use dried lavender, dried dandelion, dried calendula, dried violets, etc. If you don't have anything dried on hand, try adding in the contents of a few herbal tea bags!) 

Optional Mix-In's:

-- 5-10 drops of rose absolute (and/or a mixture of palmarosa essential oil, geranium essential oil, or you can use lavender essential oil or your favorite one)

Directions:

Stir ingredients together and pour into a small jar or container.

How to Use:

In the shower, massage a small handful of scrub all over wet skin (avoiding sensitive areas, concentrating on dry ones), rinse off and pat dry. Don't wipe away the oil feeling since this will keep you moisturized without applying lotion. Suggested use is once a week. Not recommended for your face. Be careful as the tub may become slippery when using.

Shelf life: Best if used within 6 months.

Comforting Rose Perfume 

(This recipe is courtesy of Mountain Rose Herbs and I am including it in case you happen to have many of these ingredients. I have made this in the past and replaced many essential oils with what I did have and created just as lovely of a perfume.)

Ingredients:

-- 3-4 organic whole rose buds
-- 4 mL sweet almond oil or other carrier oil of choice
-- 3 drops organic geranium essential oil or rose absolute
-- 2 drops Peru balsam essential oil
-- 1 drop organic frankincense essential oil
-- 1 drop organic sandalwood essential oil

Directions:

1. Insert whole flowers and/or other skin-safe dried botanicals into a 10 mL roll top bottle until it is at least half full.

2. Using a small funnel, fill the bottle with neutral-scented carrier oil of choice, leaving about 1/4 inch of space at top.

3. Add desired essential oil blend from choices above.

4. If space remains, top with carrier oil to fill bottle.

5. Snap roller ball lid onto bottle. Roll bottle between palms to evenly mix oils.

To Use:

Apply like you would any perfume ♥️ 


Also, these same oils were used in the tutorials for making these other items in case you want to maximize your use of them:


I used recycled jars and thrifted jars for this little project. No need to buy anything new!


And I also wanted to share a little story with you all... sharing a bit about "real life" romantic thoughts...

To put it plainly, we were dirt broke at the time.

But that didn't stop us.


We picked flowers from the prairie and dried them.


We then gathered the basics from our one treasury of wealth, our bulk pantry.

Pink salt, sea salt, sugar, oats, powdered milk and even baking soda. The vanilla extract, coconut and olive oil would also be useful.

And then we concocted.


We blended, we stirred, we added a bit of this and a bit of that until the combinations pleased us.

Soon there was an abundance of bath salts, body scrubs and nourishing bath and body oils!

And then the hot water was placed in the old enamel basin.

In came the homemade salts and the tired, sore feet.

They soaked.

Next a sugary scrub with coconut oil, flowers & other luxorious things. And the heels were rubbed until they were smooth.

The fresh water appeared and the feet were washed and dried with a warm, clean white towel.

But this moment was not over, an oil infused with floral scent was massaged into the skin until all the aches disappeared.

And now it is her turn.

Yes, we were living lean at that time but I never felt richer.

It’s not the amount of wealth one has that makes for a lovely life, but what one does with what one has which enriches it.

"The art of being happy lies in the power of
extracting happiness from common things."
~ Henry Ward Beecher

“He who is faithful in what is least
is faithful also in much…”
~ Luke 16:10a


These are some of the ways my daughter and I show love to one another. Genuine joy is not found in “self-care” but in the caring, sacred service we offer to each other.

You also might consider pampering your husband for a romantic evening with these relaxing spa rituals (he is in fact human too and would love to be treated so special!). You can even have fun with the children and make a little spa day at home. Teaching them to create moments of joy together in the home is a beautiful lesson in old fashioned contentment and teaches them how to appreciate and utilize what they have (resourcefulness).

Here is a PRINTABLE of the labels and a few quotes to include in your Inspired Home "Junk" Journal if you are preparing one. 

(I made a paper pocket and tucked my labels inside it. I also printed extras to have on hand for impromptu gifts.)

To make the labels waterproof, you can cover them with clear contact paper or thick clear mailing tape. Visit HERE to view all of the Romantic Homemaking Series to add a bit of whimsey to your domestic day.

Happily homemaking,
♡ JES

P.S. This post may contain affiliate links (which are merchant links that help to support this site at no additional cost to you if you purchase an item through them).

Monday, November 15, 2021

DIY All Purpose Floral Salve and Lovely Lip Gloss ~ Great Gifts


“If we allow our "high creativity" to remain alive, we will never be bored. We can pray, standing in line at the super market. Or we can be lost in awe at all the people around us, their lives full of glory and tragedy, and suddenly we will have the beginnings of a painting, a story, a song.” 
~ Madeleine L'Engle

There are times in a homemaker's life where she may feel stagnant and dull. Though this is far from true, I have found that living creatively and maintaining little projects along the way, add an immense amount of joy to the homemaking role. THERE IS NEVER TIME TO BE BORED! In this case, I have been looking at all my beautiful dried flowers with a desire to use them in a lovely way. This salve came to mind as all of these favorites are excellent medicinal herbs for women's skin care as well as quite aromatic for the feminine heart.  I’m excited to share this “ode to femininity” salve which will make for an all-purpose skin healer and lip gloss. I’ve named it my “floral salve”.  


To make this, I placed an equal amount of each of the following flowers to a clean jar (you can use any size jar you want in order to get the yield you want). Leave about 1 - 2 inches headspace at the top of the jar to leave room for the oil to cover the herbs. 

- 1 part of dried rose petals
- 1 part of dried chamomile
- 1 part of dried lavender buds
- 1 part of dried calendula

Next I poured in extra virgin olive oil (you can also use a good quality almond oil, sunflower oil, jojoba oil, coconut oil and/or grape-seed oil).  Cover the flowers in the oil by at least 1-2 inches (making sure they are completely submerged the entire time. To keep the herbs covered, I usually shake the jar once a day or so). 

This is a very flexible recipe and I encourage you to use what you have. If your apothecary has lavender and chamomile, just use those. With the addition of essential oils at the end, you will still have a fine and worthy salve! I am the queen of making do and I encourage you to do the same if necessary (during certain times in my budget, it is necessary). 


Screw the lid on firmly and let the mixture steep in a warm, sunny spot for 2 - 3 weeks (you can cover the jar of oil with a light cloth if you want to avoid direct sunlight). I usually place my infusions on my kitchen sill. When the time is up, strain the solids through a fine cheesecloth or a piece of thin cotton/muslin to remove all particles. I found that double straining with a second time through cotton works best. Pour into a clean, dry jar and measure out the amount of oil you have.


In a double boiler, gently heat your (measured out) floral infused oil for a few minutes.

(To bypass excess clean up, save up some of your discarded canned food tins to make a disposable double boiler (that means you don't need to clean up the wax residue after - you just toss your can!). Just add a few inches of water into a sauce pan and place your clean can inside. Add the wax to the can and you have a makeshift double boiler!)


Add in 1/4 c. of beeswax for every 1 cup of oil you measured (you can also add in some shea butter at this point for extra moisturizing abilities).


Stir occasionally until everything is gently melted together. I use a wooden skewer to stir so that it can be thrown away after for easy clean up.Remove your mixture from heat.  I divided my mixture in half at this point so that I could do half as all-purpose skin salves and half as tinted lip glosses. 

*Now is also the time to add in some coloring if you would like to make a tinted lip gloss that is shown in the pictures. It isn't necessary to add in the color, but it is fun. Once your beeswax and oil solution is melted, simply add in some lipstick (there is no ratio to this, just go by sight). I used an all-natural lipstick color that my daughter purchased which was too dark for her. Once it was added to the solution, it was a beautiful hue. But to be honest, it is very light on the lips (so don't expect a dark color, it is a lovely light gloss). This is also a great way to use up the bottom of the lipstick tube if you are a lipstick wearer. Just go in there with a toothpick or something to remove the excess and melt it into the warm solution. I used a whole tube of lipstick for one cup of floral oil. 


Once your mixture is removed from heat, stir it a bit to cool it off as you don't want to add the essential oils to a hot mixture (it will evaporate the oils). But you don't want it too cooled off as the oil mixture will start to set into a salve (if this happens, just warm it up again)!
 
Now -- stir in the essential oils. For the basic salve recipe I would add 10 drops of your favorite floral essential oil to every cup of your infused oil to give it a stronger potency of medicinal benefits and a longer shelf life.

For instance, I had a yield of 2 cups of oil. I used the following essential oils which are excellent for our skin:

- 5 drops of lavender essential oil
- 5 drops of chamomile essential oil
- 5 drops of geranium essential oil
- 5 drops of rose absolute (you can use rose essential oil if you have the luxury or Palmarosa essential oil)

This equals 20 drops of oil - AKA -  10 drops of essential oil for every cup of floral oil used.


I usually stir the solution for another minute before pouring the warm liquid into lip gloss tins (0.5 ounce), salve tins (1.0 ounces), small canning jars or even recycled baby food jars. The salve will firm up within the hour or so.


This all-purpose skin salve can be used for many concerns such as bites, burns, stings, rashes, cuts, inflammation, chapped skin, wounds and/or dry skin conditions. It should last for six months to one year if stored in a cool, dark location. The lip gloss can simply be used as a lip moisturizer. I think these would also make lovely gifts for the sweet women in your life.

Happy herbal homemaking! 

❤ JES


Monday, November 2, 2020

DIY Sweet Lavender Botanical Perfume ~ All Natural Essential Oil Blend


"And lavender, whose spikes of azure bloom
shall be, ere-while, in arid bundles bound
to lurk admist the labours of her loom,
and crown her kerchiefs witl mickle rare perfume."
~ William Shenstone (1742)

These "Sweet Lavender" botanical perfumes provide an all-natural scent while integrating a sense of relaxation via aromatherapy. They are very simple to make and don't have any of the toxins found in traditional perfumes. They are also convenient to carry around and make lovely gifts! 


In order to prepare this project, you will need the following* (some of which are affiliate links to the products I used):
  • dried lavender flowers (optional but pretty), 1/8-1/4 tsp. of lavender buds per bottle
  • 10 ml roll top bottle (you can also recycle essential oil bottles)
  • small essential oil funnel
  • sweet almond oil (or fractionated coconut oil, sunflower oil, or mild carrier oil of your choice)
  • roman chamomile essential oil, 1 drop per bottle
  • lavender essential oil, 2 drops per bottle
  • peppermint essential oil, 1 drop per bottle
  • juniper essential oil, 1 drop per bottle
  • vanilla oleoresin essential oil, 2 drops per bottle (you can also use 1/4 tsp. vanilla extract if you need to be resourceful but it will cloud the look of your blend. If you do use it, I would omit the lavender flowers and add the extract in the first step.)

* If you haven't yet built up a collection of essential oils, then this can be expensive to prepare. With that in mind, you can try for a more frugal version by experimenting with a simple mixture of lavender and vanilla essential oil to get a nice basic blend.

1. Begin by filling each bottle with 1/8-1/4 tsp. of lavender buds if you are using them.

2. Using a small funnel, carefully fill each bottle with your carrier oil (almond oil, fractionated coconut oil, sunflower oil) making sure to leave 1/4 inch headspace. As you can see, this can get messy!

3. Next, add the essential oils (amounts are shared above).

4. Fill up the remaining of the bottle with carrier oil (up to the neckline) if necessary.

5. Press roller ball lid onto each bottle and shake each bottle to blend your perfume.  


And you are finished! I like to let the blend "marry" for 24 hours and then test the aroma. You can label them if you choose or keep them in their "au natural" setting. I think they smell divine but feel free to add or subtract the ingredients to make it pleasing to your senses. 

Use this as you would perfume (though keep in mind that since it is natural, you may have to do a few applications during the day to keep up the scent). To get the aromatherapy benefits, make sure to inhale the fragrance nice and deeply each time you apply it for relaxing results! 


Wednesday, September 9, 2020

In Love with Lavender Giveaway! ~ Ode to Herbal Homemaking


“It always seems to me as if the lavender was a little woman in a green dress, with a lavender bonnet and a white kerchief. She’s one of those strong, sweet, wholesome people, who always rest you, and her sweetness lingers long after she goes away.”
~ Myrtle Reed (1874-1911)

Greetings to you all! Today we are sharing the fifth of seven little giveaways I had promised for this little blog! I call it the "In Love with Lavender Giveaway" because it is true, I am in love with lavender! I find the color to be so peaceful, cleansing and soothing just like its herbal properties! I love to include lavender in my home and prepare many herbal homemaking projects with it. I love the nostalgic feeling it evokes. There is so much that this flower provides -- beauty, comfort, relaxation, soothing aroma and quietude. 


For fun, I have included some lavender herbal products as well as some items that are simply a lovely shade of lavender. I hope you enjoy this little assortment that is meant to bring pleasure and creativity to your homemaking day!

Without further adieu, here is what is included in this giveaway: 


doTERRA lavender essential oil (15 oz.) 💜


2 oz. of dried French lavender buds 💜 for fun herbal homemaking

(For our list and recipes of what to do with lavender, please visit here)


Savon de Marseille Lavande Soap (handmade lavender vegetable soap)

with matching vintage tin 💜

(Made in France)


lavender colored lip balm 💜 because I love lip balm


lavender hand cream by Crabtree & Evelyn (ultra-moisturizing hand therapy) 💜


and finally,

a set/25 all-purpose lavender sticker labels

from Mistress of the House (my Etsy Shop!) 💜

(you can decorate all your lovely lavender projects with these).


This little giveaway will be open for the next 7 days and is open WORLDWIDE. You have the option to enter it in 7 different ways (pick and choose as many options that work for you!) in order to have 7 different chances to win! Just follow the instructions on the Rafflecopter below!

Note: Where it says "leave a blog post comment" on the giveaway, please click it as there is a special question for you to answer in the comments :) Happy herbal-homemaking ladies!


a Rafflecopter giveaway

Monday, August 24, 2020

Make Your Own Natural "Neosporin®" ~ All-Purpose Skin Salve & Super Salve Recipe


I remember I used to be intimidated by salves. I thought it was too complicated and involved for a busy homeschooling, homesteading, homemaker. But that is far from true (especially with the tips I am going to share)! They are so quick to make and one of the most used in our herbal medicine cabinet! You simply melt your ingredients together! I am sharing two recipes. One is a basic, all-purpose, Neosporin® type salve while the other is a bit stronger for those with eczema or fungus related issues that I will refer to as "super salve".


There are many ways you can make this! I encourage you to adapt this recipe to use what you have on hand. To begin, you will need either extra-virgin olive oil or coconut oil or a combination of the two. I personally like to prepare the salve with a combination of the two as you get the beneficial properties from both oils.

In order to get a more medicinal recipe, I encourage you to make an infused oil first using either lavender or calendula flowers (or a combination of both). You will find the tutorial for making a medicinal oil here! If you wanted to specifically make the "super salve" for fungus and eczema, I would highly suggest you to infuse your oil with calendula flowers as it is excellent for such skin conditions (see all that you can do with the amazing calendula flower here).


To begin, measure out your oil(s) -- I used 1 1/2 c. for my recipe (use the medicinal or regular oils or blend of both the oils). Place inside a double boiler. This is where the quick tip comes in. To bypass excess clean up, save up some of your discarded canned food tins to make a disposable double boiler (that means you don't need to clean up the beeswax residue after - you just toss your can!). Just add a few inches of water into a sauce pan and place your clean can inside. Add the oil to the can and you have a makeshift double boiler!


Once the oil has warmed up (you don't want to boil it!) and you have melted down the coconut oil (if you are using it), you can add your beeswax. I used 6 tbsp. for my recipe. 


The basic idea is to melt the beeswax with the oil and then remove it from the heat. I use a bamboo skewer as a disposable stirring stick. As you can see, I am not too fond of cleaning up oily and waxy dishes. This makes salve-making a breeze.


Once it is removed from heat, I stir it a bit to cool it off as I don't want to add the essential oils to a hot mixture (it will evaporate the oils). But you don't want it too cooled off as the oil mixture will start to set into a salve! :) 

P.S. Notice the woven potholder? I think every homeschooling mother owns one!


Next -- stir in the essential oils. 

For the basic salve recipe (aka "natural" Neosporin®) I would add 15 drops of lavender essential oil and 15 drops of melaleuca (aka tea tree) oil.


For the stronger "super" salve recipe which is great for treating fungus and eczema, add in these essential oils:

-10 drops lavender essential oil
-10 drops melaleuca/tea tree essential oil
-10 drops eucalyptus essential oil
-10 drops geranium essential oil


Finally, pour the mixture into clean containers and let the salve set before applying the lids. I save and recycle small jars for these kinds of projects. Baby jars and pimento jars are perfect sized.


This recipe yields approximately 1-1/2 cups of salve and has a shelf life of about a year. The reason I make a larger amount is that there is always someone who could use it! They are an excellent addition to your first aid cabinet, are a useful provision for your preparedness kit and salves make wonderful gifts.

Happy herbal-homemaking!


This article is a part of our Create Your Own Home Pharmacy Series.


Disclaimer: I am not a certified herbalist but a homemaker interested in the arts of natural healing. The information I have learned has been gleaned through study of some of the following favorite books; Rosemary Gladstar's Medicinal Herbs: A Beginner's Guide, Grow Your Own Drugs by James Wong, and The Complete Illustrated Book of Herbs by Reader's Digest and websites of herbalists (such as the Bulk Herb Store Blog).


I am not a doctor. While I do seek scientific confirmation of the safety and effectiveness of the herbs and remedies I use, remember that using remedies is a personal decision. Nothing I say on this blog is approved by the FDA or intended to diagnose, treat or prevent disease. All things on this blog are my opinion or the opinion of others. Also, if you have a medical condition, are taking pharmaceutical drugs, or are pregnant, please consult your physician prior to taking herbs.