Wednesday, October 14, 2015

Overcoming Hard Times with Grace ~ A Guest Post


In this economy, many of us are struggling. There is a confusion added to this, about standard of living. We see magazine covers at supermarkets of beautiful homes and elaborately prepared foods. We see television programs about rehabbing houses, and making them "livable" with the latest upgrades. This is like an upgrade in standards, and it costs far more money than most of us can manage.

It used to be that thrift stores and churches had decent clothes available for free, or for a meager cost. Many mothers used to talk about the missionary barrel. When times were hard, they would find clothes and remake them with what they had at home. They made lovely things with their own efforts, out of cast-offs. 

Mothers were able to create recipes based on what was left in the pantry, rather than what was for sale in the store. 

Home repairs and maintenance was done to survive, with scrounged supplies, or inexpensive parts to make-do, for those with little money.

I realize we need certain skills to create out of little, but we can certainly learn. 

Money used to mean something different than it does today. Money was for basic housing and basic needs, and an occasional treat, rather than for splurging and spending on what we want right now. [Or what we think we need in this confusing, consumerist, culture.]

We need a good does of the history of the family during hard times. We need to read about the depression-era mothers, the pilgrims, and the pioneers to find a way to overcome the culture of today, with dignity and grace.


Blessings
Mrs. White


Overcoming Hard Times with Grace was originally shared on The Legacy of Home {here} and was reprinted with permission by Mrs. White, the authoress. Mrs. White is a Housewife of more than a quarter of a century. Granddaughter of a revival preacher. A Beloved Wife, Mother of five, and Grandmother of five. You will find her other encouraging writings at The Legacy of Home.

For more inspiration on frugal living, visit the following:

{and/or} Visit our Thrifty Thinking Section for Frugal DIY Projects, Recipes and Inspiration.

Friday, October 9, 2015

Foraging & Harvesting Rose Hips for Your Medicinal Pantry


"During World War II, rose hips were collected by British children and sold to pharmacists to be made into syrup... They contain vitamins A, C and K, plus the B vitamins thiamin, riboflavin, and niacin."
~ James Wong, Grow Your Own Drugs

I had always assumed that the only way to procure rose hips (besides purchasing) was to have access to wild roses. When I planted our rose vine, my intention was solely cosmetic. However, I have since learned that all fruit from the rose plants are edible and contain medicinal benefits. The key, is to not snip off the blossoms! Yes, that beloved practice called "deadheading" must come to an end as this is where the hips will develop. The rose hip, which is actually the "fruit" of the rose, are extremely rich in vitamin C (one of the richest sources in fact!). The perfect and providential thing, is that they are ripe and ready when the cold and flu season hits, making them an excellent preventative and tonic right when you need them!
.
Our Climbing Rose in the Summer

The beauty of the dog rose and other such wild varieties is that they are laden with fruit while my climbing rose produced a very small amount. Also, the flavors will vary. Some species will be quite tasty while some will require a bit of help from honey. Whatever the case, free medicinal fruit is free fruit and I happily picked my meager two cups.

The Remaining Rose Hips

You will find the rose hips ready between September and November. However, the best time to harvest is after the first frost (or late autumn if you don't get frost), when they are the sweetest. The fruit should be slightly soft and having a red or orange color. Just make sure that the rose hips you harvest are free of chemical sprays and pesticides. If you don't have access to rose hips, you can always purchase the dried herb.


The fruit can conveniently be frozen for the future. Simply wash the hips and place them in a freezer container or ziplock until you are ready to use them. 


I have also read that you can dry them by laying them on a cookie sheet lined with wax paper (once they are washed and patted dry) for a few weeks. They should come out looking wrinkly like our picture above.


Rose hips can be made into vitamin-C rich syrups, jams, jelly, herbal teas, cordials and tinctures. We will be sharing some recipes shortly as a part of our "Home Apothecary Series" and Building Up Your Pantry Series. We hope to have you share your recipes when we host our "rose hips link up" within the next month or so. In the meantime, happy foraging!


This post may be shared with some or all of the following link-ups: The Art of Home-Making MondaysModest Mom Monday'sMonday's MusingsMake Your Home Sing MondayGood Morning Mondays,  The ScoopTitus 2sdaysTitus 2 TuesdaysRoses of InspirationTuesdays with a TwistRaising HomemakersWise Woman Link UpHomestead Blog Hop Wow Us Wednesdays, Wildcrafting WednesdayCoffee and ConversationHomemaking ThursdaysHome Sweet HomeOur Simple HomesteadFrom the Farm Blog HopFarmgirl FridayFront Porch Friday Blog HopAwesome Life Friday Link UpSimply Natural Saturdays and Clever Chicks Blog Hop. Thank you lovely ladies for hosting these.


Wednesday, October 7, 2015

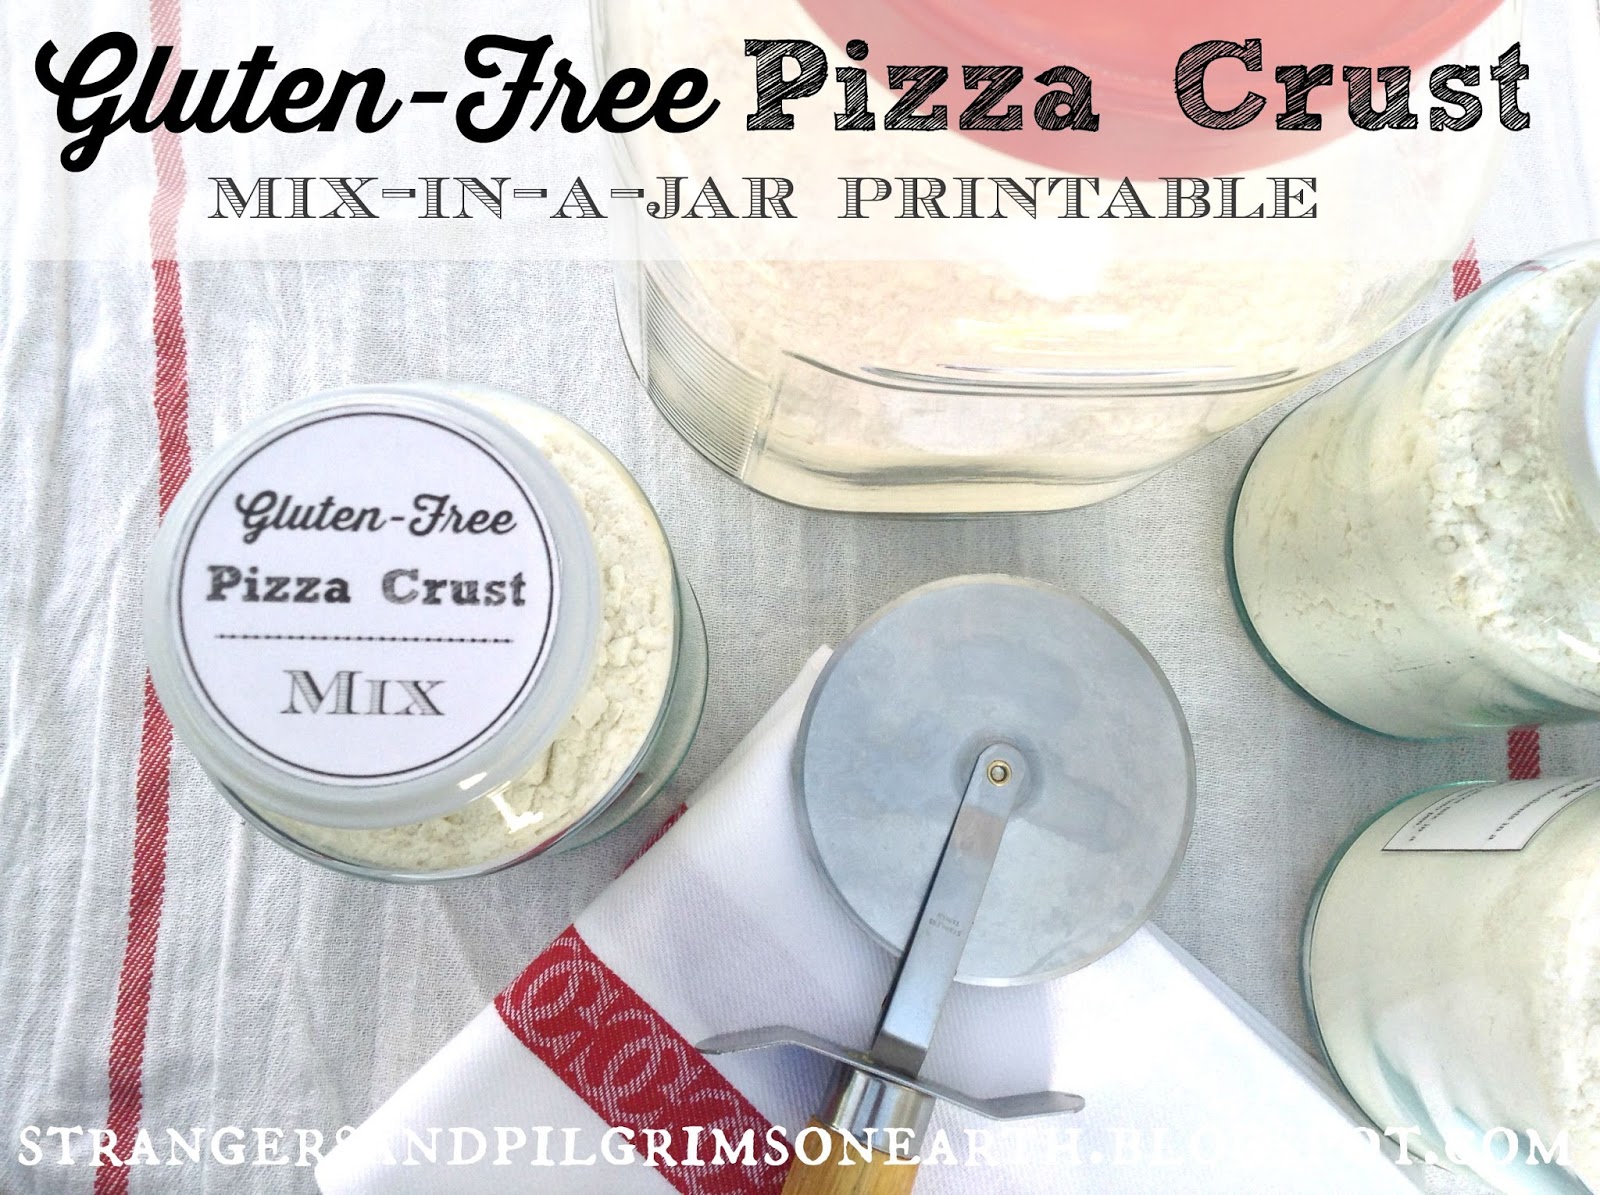
Gluten-Free Pizza Crust Mix-in-a-Jar ~ Free Printable Recipe Kit


I have been on a mix-in-a-jar mission this last year. It is so convenient to make dozens of each of your favorite recipes while you have out all the ingredients along with your measuring cups and spoons. Clean up one time instead of twelve! Place your dinner provisions in your pantry and spoil yourself to a future evening of ease in the kitchen! Today we are sharing a gluten-free pizza mix in a jar recipe:


To make the pizza crust mix in a jar ~ 

Place inside a quart-sized jar the following ingredients:
  • 3 c. gluten-free flour blend 
  • ½ tsp. xanthan gum (if your gf flour blend doesn’t include it)
  • 1 tsp. salt
  • ½ tsp. baking powder
  • 1 ½ tbsp. sugar
Stir ingredients together inside the jar. Place lid firmly back on jar and give it a good shake for a final blend. The mix is now complete. Simply label and attach the following directions to the pizza mix or use our shortcut labels (fee printable here) once you master the recipe. Store in the pantry until pizza night!


To prepare the pizza ~ 

Preheat oven to 350 degrees Fahrenheit. 

Combine the following ingredients in a glass measuring cup or small bowl:
  • 1 1/4 c. warm water (about 110 degrees, you don’t want to kill yeast so not too hot)
  • 1 tbsp.  yeast (we use Saf-instant yeast)
  • 1 ½ tbsp. sugar
  • 1 tbsp. light olive oil (or your favorite cooking oil)
Stir gently and let mixture sit for 5 minutes to allow yeast to activate.


~ Next, pour the "pizza mix" into a medium sized mixing bowl. Add the yeast mixture (once it sat for 5 minutes). Stir together until combined using a wooden spoon. 

~ Press dough onto lightly sprayed round-sized pizza pan.  Dough will be very sticky so oil your hands (splash some olive oil onto them and rub hands together) and quickly press out your pizza dough to evenly cover the pan.

~ Let dough bake for 20-25 minutes until starting to look golden on the edges (cracks may appear but that is fine). Then add your pizza sauce and toppings. Put back into oven and bake for another 10-15 minutes until cheese is hot and bubbly.

~ I let our pizza sit for a few minutes before cutting in order to let the cheese set a bit prior to serving (but that is your choice). Enjoy!


Our printable HERE shares what to put in your quart/liter jars, the directions to make the actual pizza, the round labels to fit on your jar lids and a quick version of the directions to paste onto the jar. We reuse the lids each time we refill the jars so that we don't need to continue printing up new ones. I hope you enjoy this gluten-free pizza crust recipe. It was altered slightly from this original recipe (and made into a mix by yours truly) should you like more details of the actual pizza making process.


You may also be interested in our other printable recipe kits for:
All the fine print. This post may be shared with some or all of the following link-ups: The Art of Home-Making MondaysModest Mom Monday'sMonday's MusingsMake Your Home Sing MondayGood Morning Mondays,  The Scoop, Tuesdays with a TwistRaising HomemakersWise Woman Link UpHomestead Blog Hop Wow Us Wednesdays,  Coffee and ConversationHomemaking ThursdaysHome Sweet HomeOur Simple HomesteadAwesome Life Friday Link Up and Shabbilicious Friday. Thank you lovely ladies for hosting these. This post may contain affiliate links (which are merchant links that help to support this site at no additional cost to you if you purchase an item through them).  

Friday, October 2, 2015

End of the Garden Soup {Sabbath Soup} Flexible Frugal Freezable


"The hot soup and hot tea warmed them all."
~ Laura Ingalls Wilder, The Long Winter

"End of the Harvest Soup", "Sabbath Soup" or "Grandmother's Garden Soup". Many names will work for this flexible, frugal and freezable soup! It is simply a bean-based vegetable soup. This recipe has been passed down in various forms from my great-grandmother and has been manipulated by yours truly in order to utilize all our garden glory (including the spring and fall garden harvests). It is an old fashioned type of recipe that doesn't give "exact" measurements but manages to turn out tasty every time! As it makes approximately 16 quarts, you will have plenty to freeze or serve for a large crowd.


To begin, you will need to soak 2 cups of butter beans (or your favorite white bean) in a generous amount of water the night before. The next day, drain the beans and add them to a * 16 quart stock pot (stainless steel is preferred because of the acidity in the tomatoes we will be using). Fill the pot ¾ of the way full with water, add a few generous tablespoons of salt and let them gently boil for 1-1/2 to 2 hours, until beans are completely cooked and soft. 

Since this is grandmother's recipe, a large stock pot is required (though you could always cut the recipe in half to accommodate a smaller pot).


While the bean broth is simmering, take about 6 very large or 8 regular size (peeled) potatoes and cook them separately in a pot. I usually fill up my 4 quart stock pot with potato chunks and that amount works wonderful each time. Once the potatoes are soft, turn off the stove and mash them with the water into a thick potato water (see picture to the right). When this is done, add this potato water to your large bean broth pot. Bring the large stock pot back to a boil and add the following vegetables.


Now remember, this is very flexible. What I have found that also works is to replace like-colored vegetables to accommodate what you have on hand (you can also call this the "clean out your crisper" soup):

~ 1 large cabbage, chopped, I use the food processor attachment to do this {or approx. 16 loose cups of chopped swiss chard, kale or a blend of chopped swiss chard, cabbage, kale and spinach} You could also add in a few cups of sauerkraut for a different dimension of flavor.

~ 4 large carrots, grated {approx. 4 cups and I wouldn't substitute the carrots as their sweetness plays an important role in the soup}

~ 1 very large or 2 small bell peppers, chopped {approx. 1 cup} {or a few peeled, shredded beets, or zucchini, yes anything really!}

~ 1 small bunch of broccoli, chopped fine (or 1 small bag of shredded broccoli stumps or a few cups of diced squash or 1 bunch of chopped spinach, or a few cups of diced green beans}

~ 1 bunch of green onions, chopped {or garlic chives, or a few tbsp. of dried chives}

~ 1 sweet onion, chopped

~ 3 stalks celery, chopped (or a few cups of shredded zucchini works as it seems we never have celery or a bunch of chopped spinach, or diced green beans}

~ Optional ~ 1 large rutabega, chopped

If you don't have something, just leave it out and add your abundant vegetable in its place to get the desired consistency. It comes out tasty every time as long as the bean and potato base is prepared along with the tomato sauce (which is added below). 


Once the vegetables are added to the pot, bring it all back to a boil while adding the rest of these ingredients:

~ 2-3 bay leaves {you will remove these in the end when you serve the soup}

~ lots of fresh dill, to taste {or about 1 - 2 tbsp. if dry}

~ 1 quart of home canned tomatoes {or store-bough tomato sauce or tomato puree}

~ 1 small can tomato paste {or add in additional tomato sauce, this is flexible}

~ 1 cube of butter {highly recommended}

~ sprinkle of Braggs seasoning mix {or Mrs. Dash original flavor or your favorite herbal mix}

~ seasoned salt and salt {to taste}


Let this all cook together for about 1/2 hour. Then taste it to see what it needs. Usually it needs more salt, sometimes more dill, sometimes more spices. You can add your own variations. When the vegetables are tender and the flavor is good, then it is ready to enjoy {or freeze for the future in family sized portions}! I noticed that it tastes even better the next day once the flavors have blended together.

Homemaking Hint: Stir the soup as you serve it and dip your ladle into the bottom in order to get the right ratio. If this isn't done properly, you will be left with beans at the bottom of your pot and none in your bowls.


When having fellowship after church, I prepare this soup the day before so little effort is required to make a large meal that day. This serves at least 5 medium-sized families generously. The day we reheat the soup, we often serve it with a relish dish of sliced cheese, olives, and our home canned pickled vegetables. We will also prepare the day before, some angeled eggs or serve bowls of hard-boiled eggs if time is lacking. Finally, we put out platters of finger salads (such as carrot sticks, cucumbers, etc.) and spread out slices of homemade bread with pats of butter. Being that most of this food is prepared from our farm, it is a very frugal and nourishing homestead meal! For other easy to make recipes, visit here.