


I used to keep my canning recipes in my recipe book but the more recipes I accumulated, the less space I had for the seasonal canning ones. Then I switched them to my herbal but that also grew in size. This summer, I began gathering all my canning notes, recipes, etc., and placing them in their own dedicated binder. I call it my "Preserving Notebook".

After much deliberation (yes I think hard on such things 🤓), I decided to use alphabet tabs (affiliate link) to organize everything. That way, any canning recipe would have a home alphabetically. Apple recipes would go under “A”, blueberry recipes under "B", strawberry recipes under “S” and so forth. I also inserted a few other things that are useful to my preserving needs.
Here is what I included in my notebook:
(These first few items I keep in the beginning of the binder, prior to the tabs since they don't fit a certain "produce" theme. I consider them informational.)

- my food preservation planner pages (free printable here) In the autumn and winter months, as I go through my canning books, I make note on the recipes I would like to try. I input the recipe, book and page number in my planner pages. That way, when the season hits, I already know what I want to make with a certain fruit or vegetable. It is very useful.

- pressure canning instructions (I don’t do it enough to rely on my memory so these steps are helpful and always conveniently located) I keep these at the front of the index tabs and have it covered in plastic as I take these in and out more. I copied these directions from The Prairie Homestead where she gives a great in-depth tutorial on how to use a pressure canner. Here is the link in case you are interested.
- pressure canning vegetable and meat charts (with time and pressure amounts) These I photocopied from the pressure canner manual (not shown).

- preserving articles I read from the canning authorities and find useful (such as “how to can without sugar or salt”, etc.) Here is the link in case you are interested in this particular one.

- photocopies of my favorite recipes from my canning books (this way I don’t have to search them out), any handwritten recipes and so forth. Of course, these are placed alphabetically by "produce".
- themed recipe articles from State extension offices (they’ll have printable pages on how to preserve foraged fruits, etc., and list various preserving ideas and recipes which are very handy - here is a sample of the foraged fruit and here is the how to preserve peppers booklet that I included as well)

- individual preserving recipes I print from websites (once again these are placed in alphabetical order according to what is being preserved) Here is the apple pie filling recipe I use. I did do some fall decorating on the page as it was a little bland :)
- fruit leather recipe (here is the one I printed out from Chocolate Box Cottage) Something like this I would file under "F" for "fruit" in general.

- any food preservation recipes in general (including freezer jam recipes, fermenting recipes, dehydrating, etc.) Here are a few from my blog which may be printed for your notebook:
- citrus fruit preserving ideas (this would be helpful to fill up your planner pages with ideas)
- fruit scrap jelly (here is a recipe sheet so you can record this vert versatile, frugal recipe)
- lemon drop jelly
- lemon juice
- lemon scrap syrup
- strawberry freezer jam

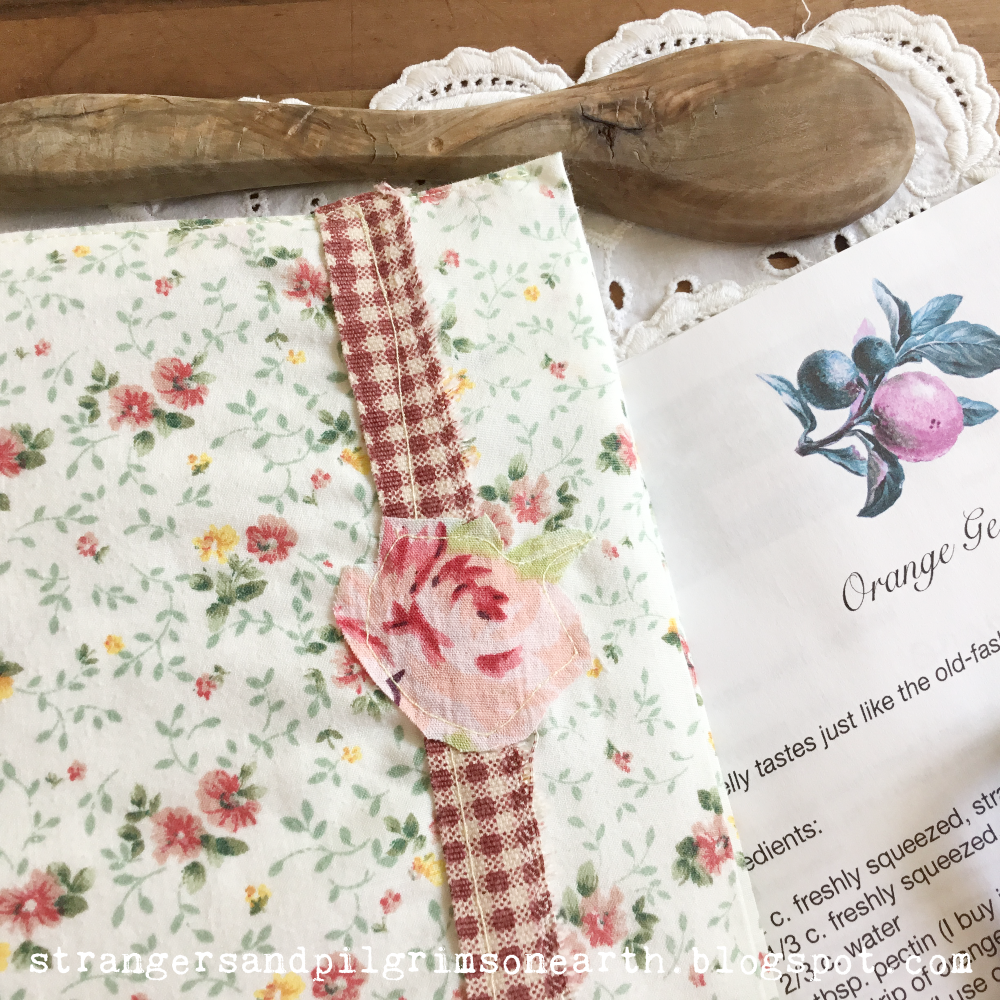
To add interest, I covered my notebook with a floral fabric to give it a cozy feeling. I am quite embarrassed to show this up close as I am not a great seamstress and quite an impatient one. I just used the remnant fabric from an old sheet (which had lots of piling but was still a cute print). I used the remnant gingham border from another project as ribbon (it still had a frayed side but I thought it added to the charm). Next, I cut off a rose from a retired duster-housedress and used that as a little embellishment. I also added a strip of lace to the back cover for more interest (pictured below). I made the cover in the same way we used to have to cover our school books but used fabric instead of a paper bag. And I used a sewing machine instead of tape. It took 10 minutes to make because I obviously did it quickly (to be honest, I was supposed to be doing something else that day and I was feeling quite guilty for making this!).

I’ll be fine-tuning my binder over autumn as our garden has faded and I’ll have extra time to work on such projects. In fact, as I was typing this up, I thought I would add a food dehydration chart to this. I am always looking up the degrees and length of time for each piece of produce and it would be nice to have it handy here.

This project cost me a total of $3.76 because I had to purchase the alphabet tabs. Everything else was used from foraged materials around the house. This is a great way to use an old, ugly binder since you can cover it. Do you think you would ever make something like this? How do you store and keep track of your food preservation recipes? Is there anything else you would place in this binder? Please share!
Happy homemaking,
♡ JES
Love your creativity and how you used what you had on hand. Turned out very nice!
ReplyDeleteVictoria
You are amazing to me! I have come "very late to the party", but at least I have arrived! I got rid of a lot of paper products and use cloth. I started a garden and canning for the first time. Who said you can't teach a dog new tricks? Learning from you had been inspiring and challenging.
ReplyDeleteAlways putting God first...
Oh my goodness! I love hearing all the new things you have begun! This makes my day :) Thank you so much for sharing your homemaking adventures :)
DeleteJES, what a wealth of information you have gathered for all of us. I read everything with much interest and appreciate how you've laid it all out to make it easy. I've done much water bath canning in years past, and finally bought an All American pressure canner (like yours!) last May. Alas, this beauty is *still* sitting in its box under my desk because I am, well, scared of this new venture. I loved your comment in your pressure canning instructions that "this venting period is a good time to take a deep breath ..." I imagine many deep breaths will be required as I learn this new skill, but I hope only a minimum of chest-clutching. :) Again, this is a wonderful post chock-full of helpful information. Thank you.
ReplyDeleteNancy
You could do it Nancy!!!! :) I just pressure-canned 3 dozen jars of home-caught tuna. The skill is such a blessing to our household. Just follow step by step. Don't look into the future directions. Focus on the present step and go to the next. This is the way I was able to accomplish it :)
DeleteVery pretty and a good way to make something useful. Thanks!
ReplyDeleteI think this is a great idea and so useful. I end up with my recipes in a bundle and unable to find the one I want. Separating them into catagories just makes more sense. And I am with you, these things do need a lot of thought to do what you are envisioning them to do!
ReplyDeleteTake care,
Darlene
Thank you! This has been such a fun and useful project! I just went to the library for preserving books and have added so many new recipes to try to the notebook!
DeleteVery handy for the preserving season
ReplyDeleteI left a comment, but something happened and it never showed up. I am having trouble commenting on several blogs. Let me try again.
ReplyDeleteI think this is a great idea. And I totally get you having to think this through. It is important how you design it and what you put into it. And you don't want to have to do it twice, so thinking about it for a bit of time is important.
You are very creative and thanks for sharing with us.
Take care,
Darlene
Sorry, I have to preview the comments because of spam and it was awhile since I checked the blog. All your comments showed up! So sorry for the delay 😞
DeleteI am taking your advice as I recover from chemotherapy, and am making my own notebook of things to do as I recover. Your website/blog is my favorite of all time, and I pin/save them all to look back on for learning and inspiration. Thank you so much!!!
ReplyDeleteI'm so glad that the notebook idea sounded good to you!!! Are you the same Debra who asked for the Orange Syrup recipe? I had sent it but am not sure if you received it? It might be in your email spam box...
DeletePraying for a strong recovery!
JES, I just checked back again, and it was there! I checked and checked before and nothing, and now its there! Thank you so much!!!
DeleteI have tried several times to post, but it doesn't seem to take. I will try again. I wanted you to know what a great idea this is. Great job!
ReplyDeleteThank you and sorry again for the delay ☺️
DeleteBeautiful as ever...passing this on to our 4 daughters and 3 daughter in laws..Thank you!
ReplyDeleteWonderful!! That makes me so happy ❤️
DeleteThis is such a darling project, I am so eager to make this with my daughters! So feminine, too. Just lovely.💗
ReplyDeleteI thought I was looking for something so niche... and then I found someone who has the same thought! I just started canning and I have been loving it! Something about feeling like myself again after having my third baby makes me want to learn a new skill and start crafting again! I'm thinking: a canning scrapbook!
ReplyDelete