Unfortunately, I could not find the better photos because our lap top hard drive died which had all the main ones but these are all I have at this point so I will use them.
Living Room
This area above was updated with some second hand wood and made into bookshelves. You will notice that in the pictures of the finished living room. That project only costed $2 and so we couldn't help splurging (wink). I don't know what the purpose of the nook was before…. perhaps a window in earlier times?
Small Room Off Kitchen Area Plus Kitchen
This area didn't make any sense to us since the kitchen was small and this was attached to the kitchen. A strong husband and sledge hammer was an affordable way to open up the eating area. We placed "seconds lumber" in the nook above also which gave us a pantry shelf area. You can see this in my Pantry Label Post. This is actually on the other side of that other nook in the living room that we placed bookshelves in.
We couldn't take the whole wall down in fear of bringing down the structure (my husband had some issues with safety due to the nature of this old house) so we made do with this. You can see the cabinet space is poor. There is just another small cupboard area you will see in other photos. The drawers don't open and close well so I did something to those as well. I also removed the slider from the bottom of the sink and used that wood as corner shelves in the children's room. That will be shown later.
Here is a shot of the extra kitchen space we were able to recover.
He tried to match the tops of the kitchen doors with the way he finished this off. See below.
This picture above is shown after we painted while the rest are before paint.
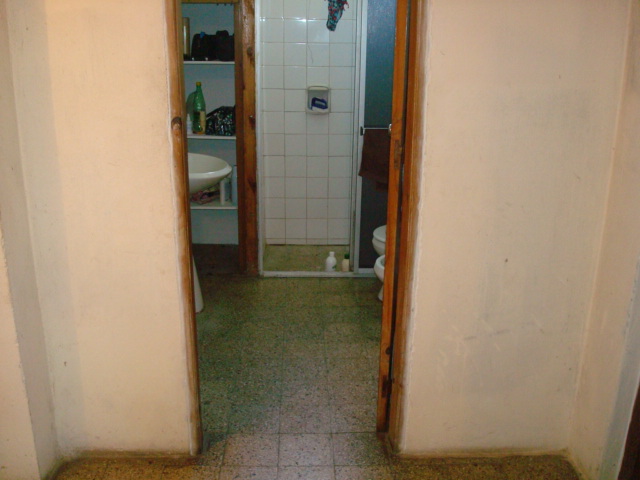
The Bathroom
Master Bedroom
Children's Bedroom


